
Introduction
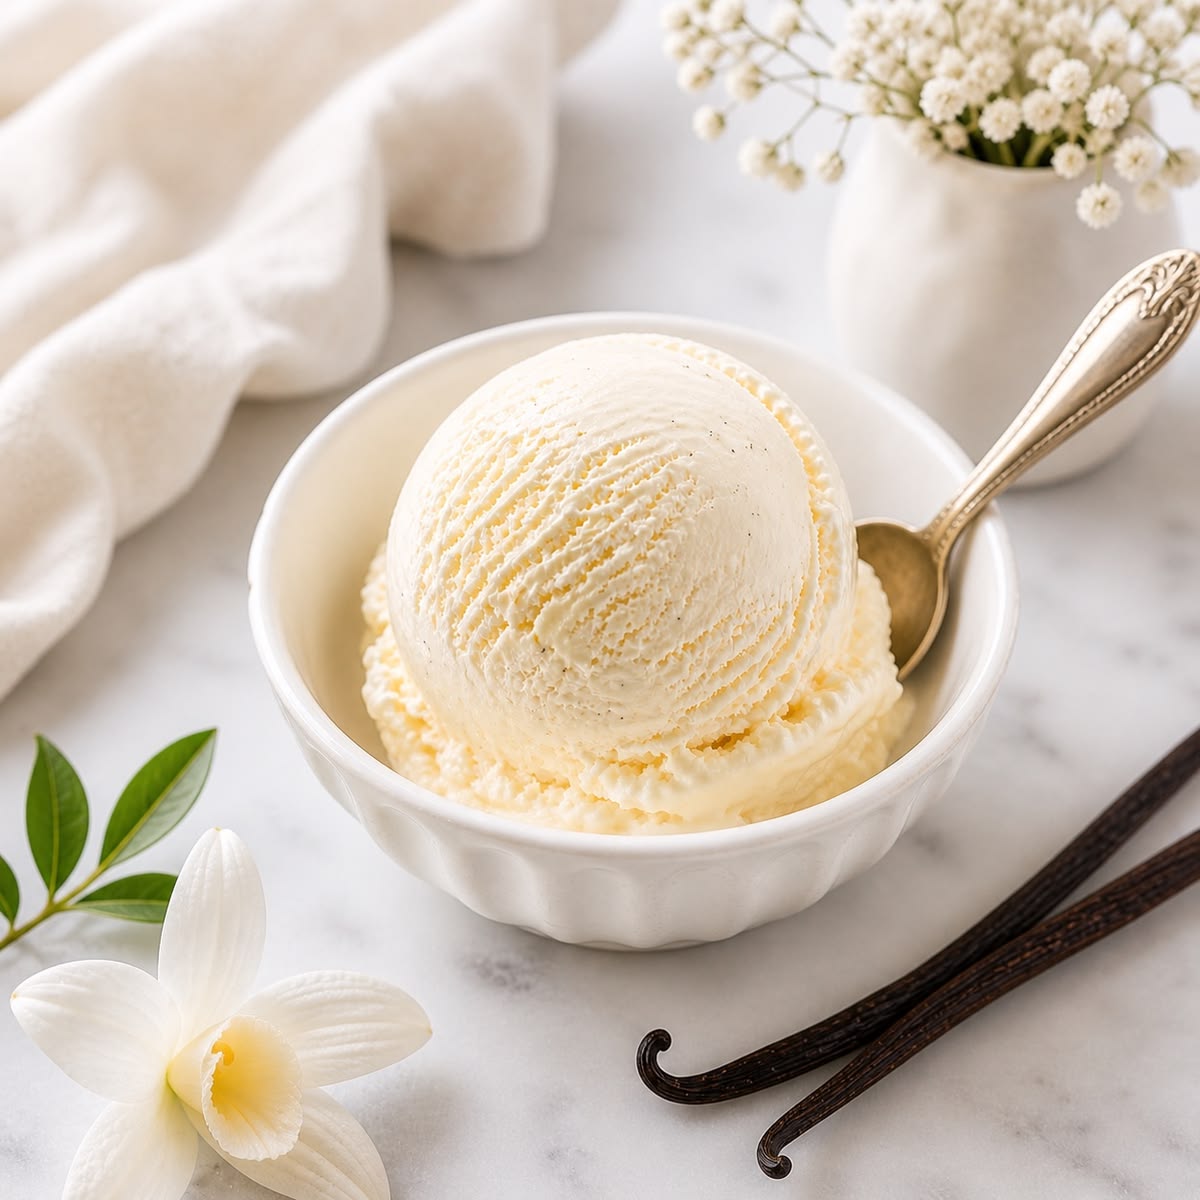
There’s nothing quite like the pure, comforting taste of homemade vanilla ice cream. It’s a classic for a reason – creamy, rich, and wonderfully aromatic, it truly tastes like a scoop of happiness. Forget those store-bought tubs; this recipe elevates vanilla ice cream to a whole new level, making it a truly special treat for any occasion. Every spoonful is a delightful experience, a perfect balance of sweetness and a hint of warmth from the vanilla.
You might think making ice cream at home is complicated, but I promise you, it’s surprisingly simple! With just a few basic ingredients and a little patience, you can create a dessert that will impress everyone. No need for fancy equipment beyond an ice cream maker, and even that is easy to use. The process is straightforward, and the results are incredibly rewarding, far superior to anything you can buy.
So, are you ready to embark on a delicious adventure and create your very own batch of creamy, dreamy vanilla ice cream? This recipe will guide you every step of the way, ensuring a perfect outcome. Get ready to churn up some magic and treat yourself, your family, and your friends to the best vanilla ice cream you’ve ever tasted!
Cooking Time & Prep Time
- Prep Time: 25 minutes
- Chilling Time (for custard): 4-6 hours (or overnight)
- Churning Time: 25-30 minutes
- Freezing Time (for ice cream): 4-6 hours
- Total Active Time: Approximately 50-55 minutes
Small tip: The most time-consuming parts are chilling the custard and freezing the churned ice cream. Plan to make the custard a day ahead for the best results, ensuring it’s thoroughly chilled before churning.
Ingredients
This recipe makes approximately 8 servings.
- 2 cups (480ml) heavy cream
- 1 cup (240ml) whole milk
- ¾ cup (150g) granulated sugar, divided
- Pinch of salt
- 5 large egg yolks
- 2 teaspoons pure vanilla extract (good quality makes a difference!)
Step-by-Step Instructions
-
Step 1: Prepare Your Ingredients and Equipment
Before you begin, gather all your ingredients and make sure your ice cream maker’s bowl is frozen solid. This usually takes at least 24 hours, so plan ahead! Having everything ready will make the process much smoother and more enjoyable. A good quality vanilla extract is key for the best flavor.
Small tip: Ensure your ice cream maker bowl is completely frozen. If it’s not, your ice cream won’t churn properly.
-
Step 2: Warm the Milk Mixture
In a medium saucepan, combine the heavy cream, whole milk, ½ cup (100g) of the granulated sugar, and the pinch of salt. Heat this mixture over medium heat, stirring occasionally, until it just begins to simmer around the edges. Do not let it boil vigorously; we just want it hot and steamy. This helps dissolve the sugar and warm the liquids.
Small tip: Keep an eye on the mixture to prevent scorching. A gentle simmer is perfect.
-
Step 3: Temper the Egg Yolks
While the milk mixture is heating, whisk the egg yolks and the remaining ¼ cup (50g) of granulated sugar together in a separate medium bowl until they are pale yellow and slightly thickened. This creates a fluffy base for our custard. Tempering prevents the eggs from scrambling when added to the hot liquid.
Small tip: Whisk vigorously until the sugar is fully incorporated and the yolks are light in color.
-
Step 4: Create the Custard Base
Slowly ladle about half a cup of the hot milk mixture into the egg yolk mixture, whisking constantly. This warms the egg yolks gradually, preventing them from cooking too quickly. Continue to add another ladleful or two, whisking continuously, until the egg mixture is warm. Then, pour the warmed egg yolk mixture back into the saucepan with the remaining hot milk mixture. This ensures a smooth transition.
Small tip: Pour slowly and whisk continuously when tempering the yolks. Patience here is key to a smooth custard.
-
Step 5: Cook and Chill the Custard
Return the saucepan to medium-low heat and cook, stirring constantly with a wooden spoon or spatula, until the custard thickens enough to coat the back of the spoon. This typically takes about 5-8 minutes. Do not let it boil, or the eggs will curdle. Remove from heat, stir in the vanilla extract, then immediately pour the custard through a fine-mesh sieve into a clean bowl to catch any small bits of cooked egg. Cover the surface directly with plastic wrap to prevent a skin from forming, and refrigerate for at least 4-6 hours, or preferably overnight, until completely chilled.
Small tip: A fine-mesh sieve is your best friend here! It ensures a silky-smooth custard base.
-
Step 6: Churn the Ice Cream
Once the custard is thoroughly chilled, pour it into your frozen ice cream maker bowl. Churn according to the manufacturer’s instructions, which usually takes about 25-30 minutes. The ice cream will be soft-serve consistency at this point, thick and creamy but not fully firm. It should look like a thick milkshake.
Small tip: Do not overfill your ice cream maker. Leave some room for expansion as it churns.
-
Step 7: Freeze and Enjoy
Transfer the soft ice cream to an airtight container. Press a piece of parchment paper or plastic wrap directly onto the surface of the ice cream to prevent ice crystals from forming. Freeze for another 4-6 hours, or until firm enough to scoop. Now it’s ready to enjoy! Serve it up in bowls or cones and savor the homemade goodness.
Small tip: For the creamiest texture, let the ice cream sit at room temperature for 5-10 minutes before scooping.
Tips & Variations
- Gluten-Free Option: This recipe is naturally gluten-free! Enjoy it as is, or be mindful of any toppings you add to keep them gluten-free as well.
- Vegan/Dairy-Free Option: To make this recipe vegan, substitute the heavy cream with full-fat coconut cream (chilled, scoop out the thick cream) and the whole milk with full-fat coconut milk or a rich plant-based milk like cashew milk. Replace the egg yolks with a cornstarch slurry (1 tablespoon cornstarch mixed with 2 tablespoons cold water) added to the warm milk mixture to thicken, or use a commercial egg replacer suitable for custards.
- Boosted Add-ins: For added texture and a touch of protein or fiber, stir in chopped nuts (like pecans or walnuts), chocolate chips, or even a swirl of fruit puree (like raspberry or strawberry) during the last few minutes of churning.
- Spicy Twist: For a surprisingly delicious kick, add a tiny pinch (¼ teaspoon) of cayenne pepper or ground cardamom to the milk mixture as it heats. This creates a subtle warmth that complements the vanilla beautifully. Alternatively, serve with a drizzle of spicy chocolate sauce.
- Flavor Infusions: Get creative with your vanilla base! Infuse the milk mixture with other flavors by adding lavender buds, coffee beans, or a split vanilla bean (remove before churning) during the heating step. Steep for 30 minutes, then strain before proceeding with the recipe.
Nutritional Information
Approximate values per serving (based on 8 servings):
- Calories: 280-300 kcal
- Protein: 4-5g
- Carbohydrates: 20-22g
- Fat: 22-25g
Please note: These values are approximate and may vary depending on the specific brands and exact amounts of ingredients used.
Health Benefits
While ice cream is a treat, its main ingredients do offer some beneficial nutrients. Knowing what’s in your homemade version can make it even more enjoyable!
The dairy in our vanilla ice cream, heavy cream and whole milk, is an excellent source of calcium. Calcium is vital for maintaining strong bones and teeth, and it also plays a role in nerve function and muscle contraction. Dairy products also provide Vitamin D, which helps the body absorb calcium, making them a powerful duo for skeletal health.
Egg yolks contribute significantly to the nutritional profile. They are packed with high-quality protein, essential for muscle repair and growth, and contain important B vitamins like B12, which is crucial for energy production and nerve health. Egg yolks are also a good source of choline, a nutrient important for brain health and metabolism.
Even the star flavor, vanilla, offers more than just taste. Pure vanilla extract contains antioxidants, which help protect your body’s cells from damage caused by free radicals. Some studies suggest that vanilla has calming properties and can even act as a mood enhancer, adding a little extra joy to your dessert.
Of course, ice cream is a delicious indulgence, and enjoying it in moderation is key to a balanced diet. Making it at home allows you to control the quality of ingredients, ensuring you’re getting the best possible treat.
Serving Suggestions
- Classic Toppings: Serve scoops with fresh berries (strawberries, raspberries, blueberries), a drizzle of homemade chocolate sauce, or a sprinkle of chopped nuts.
- Dessert Pairings: Vanilla ice cream is the perfect accompaniment to almost any warm dessert. Try it alongside apple pie, chocolate lava cake, fruit cobblers, or a warm brownie.
- Affogato Delight: For a simple yet sophisticated treat, place a scoop of vanilla ice cream in a mug and pour a shot of hot espresso over it.
Storage Tips
Your homemade vanilla ice cream will keep beautifully in an airtight container in the freezer for up to 2-3 weeks. Beyond that, the texture might start to degrade slightly due to ice crystal formation, but it will still be delicious. To enjoy it at its best, always press a piece of parchment paper or plastic wrap directly onto the surface of the ice cream before sealing the container. There’s no need to “reheat” ice cream; simply let it sit on the counter for 5-10 minutes before serving to allow it to soften to a perfect scooping consistency.
Conclusion
And there you have it – your very own batch of incredibly delicious, homemade vanilla ice cream! There’s an unmatched satisfaction that comes from creating such a classic treat from scratch. The rich, creamy texture and the pure, aromatic vanilla flavor are simply divine, a testament to the simple joy of real ingredients and a little bit of effort.
Don’t hesitate to give this recipe a try. You’ll be amazed at how easy it is to achieve such a luxurious dessert right in your own kitchen. Once you taste the difference, you might never go back to store-bought again. It’s a wonderful project for a lazy afternoon and a guaranteed crowd-pleaser.


