
Introduction
Imagine a scoop of pure sunshine, melting slowly on your spoon. That’s exactly what our Toasted Coconut Ice Cream delivers! This delightful dessert is a creamy, dreamy escape to a tropical paradise, right in your own kitchen. The magic comes from the deeply flavorful toasted coconut, which adds a wonderful nutty depth and irresistible texture to every spoonful. It’s sweet, comforting, and utterly special.
You might think making homemade ice cream is complicated, but this recipe is surprisingly simple. We use common ingredients and straightforward steps that anyone can follow. The hardest part is waiting for it to chill and freeze! Most of the work is hands-off, letting your freezer do the heavy lifting. It’s a truly rewarding project that yields incredible results with minimal fuss.
So, get ready to impress your taste buds and your loved ones with this incredible Toasted Coconut Ice Cream. It’s perfect for a warm summer evening, a special gathering, or simply when you need a little taste of the tropics. Give it a try – you won’t regret it!
Cooking Time & Prep Time
- Prep Time: 25 minutes
- Cooking Time: 10 minutes (for toasting coconut)
- Churning Time: 20-25 minutes
- Chilling Time: 4 hours (minimum)
- Freezing Time: 4-6 hours (or overnight)
- Total Time: Approximately 8-12 hours (mostly passive chilling and freezing)
Small tip: The bulk of the “total time” is passive chilling and freezing. Plan to start this recipe the day before you want to serve it to ensure it’s perfectly set.
Ingredients
This recipe makes approximately 6-8 servings.
For the Toasted Coconut
- 1 ½ cups unsweetened shredded coconut
For the Ice Cream Base
- 2 cups heavy cream
- 1 cup whole milk
- ¾ cup granulated sugar
- ¼ teaspoon salt
- 1 teaspoon pure vanilla extract
- ½ cup sweetened condensed milk
Step-by-Step Instructions
-
Step 1: Toast the Coconut
Preheat your oven to 325°F (160°C). Spread the unsweetened shredded coconut in a single layer on a large baking sheet. Bake for 8-10 minutes, stirring every 3-4 minutes, until the coconut is golden brown and fragrant. Watch it closely, as it can burn quickly.
Small tip: A slightly lower temperature and more frequent stirring prevent burning and ensure even toasting.
-
Step 2: Prepare the Cream Mixture
In a medium saucepan, combine the heavy cream, whole milk, granulated sugar, and salt. Heat over medium heat, stirring occasionally, until the sugar is fully dissolved and the mixture is warm but not boiling. This usually takes about 5-7 minutes. Remove from heat.
Small tip: Don’t let the mixture come to a rolling boil; just warm it enough to dissolve the sugar.
-
Step 3: Add Flavorings
Stir in the pure vanilla extract and the sweetened condensed milk into the warm cream mixture. Whisk everything together until it’s well combined and smooth. The condensed milk adds a wonderful richness and creamy texture to the ice cream.
-
Step 4: Chill the Base
Pour the ice cream base into a large bowl or airtight container. Cover it tightly with plastic wrap or a lid. Refrigerate for at least 4 hours, or preferably overnight, until the mixture is thoroughly chilled. This step is crucial for achieving a smooth, creamy ice cream.
Small tip: A well-chilled base freezes faster and results in smaller ice crystals, making for a creamier final product.
-
Step 5: Churn the Ice Cream
Once the base is thoroughly chilled, pour it into your ice cream maker’s frozen bowl. Churn according to the manufacturer’s instructions, typically for 20-25 minutes, until the ice cream is thick and resembles soft-serve consistency. The churning process incorporates air and prevents large ice crystals from forming.
Small tip: Make sure your ice cream maker bowl has been in the freezer for the recommended 12-24 hours before you start churning.
-
Step 6: Incorporate Toasted Coconut
During the last 5 minutes of churning, add about 1 cup of the toasted coconut to the ice cream maker. Let it churn briefly to distribute the coconut evenly throughout the ice cream. Reserve the remaining ½ cup of toasted coconut for garnish.
-
Step 7: Freeze to Firm Up
Transfer the churned ice cream to an airtight freezer-safe container. Sprinkle the remaining ½ cup of toasted coconut on top, if desired. Cover tightly and freeze for another 4-6 hours, or until the ice cream is firm enough to scoop. Overnight freezing yields the best results.
Small tip: For easy scooping, take the ice cream out of the freezer about 10-15 minutes before serving to let it soften slightly.
Tips & Variations
- Gluten-Free Option: This recipe is naturally gluten-free! Just ensure all your ingredients (like vanilla extract) are certified gluten-free if you have severe sensitivities.
- Vegan/Vegetarian Option: To make this vegan, swap heavy cream for full-fat coconut cream (chilled overnight, use the thick cream from the top of the can), whole milk for a plant-based milk (like almond or oat milk), and sweetened condensed milk for a vegan condensed milk alternative (often made from coconut milk).
- Add More Protein: For a protein boost, whisk in 1-2 scoops of unflavored or vanilla protein powder (whey or plant-based) into the chilled ice cream base before churning. Ensure it dissolves completely.
- Spicy Version: For a subtle kick, add a tiny pinch of cayenne pepper or a very small amount of finely minced fresh ginger to the cream mixture when heating. It adds a surprising warmth that complements the coconut beautifully.
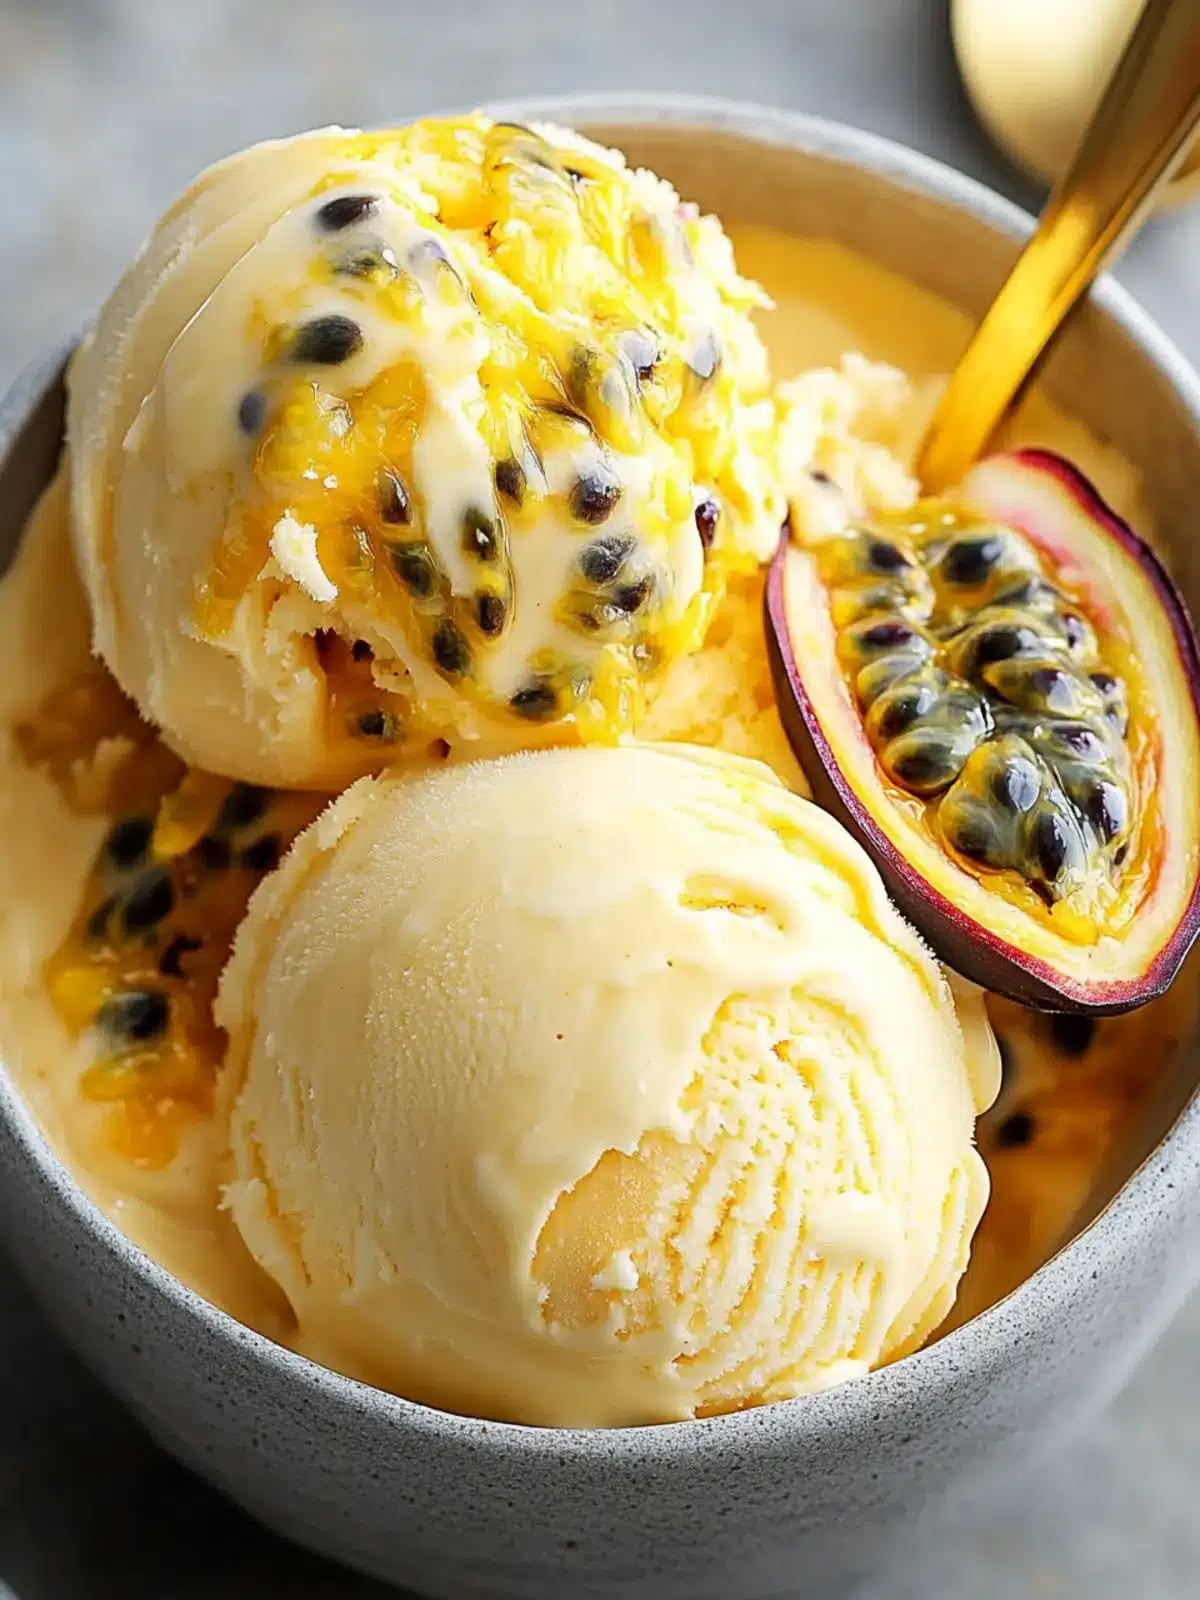
- Tropical Fruit Swirl: Swirl in a homemade mango or passion fruit puree during the last few minutes of churning for an extra burst of tropical flavor and color.
- Chocolate Chip Delight: Fold in a handful of mini chocolate chips or finely chopped dark chocolate along with the toasted coconut for a classic flavor combination.
Nutritional Information
Approximate values per serving (based on 8 servings):
- Calories: 380-420 kcal
- Protein: 4-6 g
- Carbohydrates: 30-35 g
- Fat: 28-32 g
Please note: Nutritional values are approximate and may vary depending on specific brands and quantities of ingredients used.
Health Benefits
While ice cream is a treat, some of its ingredients offer noteworthy benefits. Coconut, especially the unsweetened variety, is a good source of dietary fiber. Fiber is important for digestive health and can help maintain stable blood sugar levels.
Coconut also contains medium-chain triglycerides (MCTs), a type of fat that is easily digested and can be used by the body for energy. These MCTs are known for their potential to support brain health and metabolism. Plus, coconut provides essential minerals like manganese, copper, and selenium.
Dairy products, like the heavy cream and whole milk in this recipe, are excellent sources of calcium. Calcium is vital for strong bones and teeth. They also provide high-quality protein, which is essential for muscle repair and growth, and B vitamins, important for energy production.
Even a sweet treat can offer a little something good. Enjoying a homemade dessert like this, made with real ingredients, allows you to control the quality and freshness of what you eat. It’s a delicious way to enjoy the goodness of coconut and dairy in moderation.
Serving Suggestions
- Serve scoops of Toasted Coconut Ice Cream alongside fresh tropical fruits like mango slices, pineapple chunks, or a medley of berries.
- It makes an exquisite dessert on its own, perhaps with a drizzle of warm caramel or chocolate sauce for an extra touch of indulgence.
- Turn it into a gourmet treat by serving a scoop atop a warm brownie, a slice of apple pie, or a delicate crepes for a delightful hot-and-cold contrast.
- Blend it into a creamy, refreshing milkshake with a splash of milk and a few ice cubes for a quick and satisfying drink.
Storage Tips
Store your homemade Toasted Coconut Ice Cream in an airtight, freezer-safe container. It will keep well in the freezer for up to 2-3 weeks. Beyond that, the texture might start to degrade slightly, and it could develop ice crystals. To enjoy, simply scoop directly from the freezer; if it’s too hard, let it sit on the counter for 10-15 minutes to soften to your desired consistency. Reheating is not applicable for ice cream; it’s best enjoyed cold and creamy!
Conclusion
There you have it – a recipe for Toasted Coconut Ice Cream that is truly a taste of paradise! Its rich, creamy texture combined with the irresistible crunch and deep flavor of toasted coconut makes for an unforgettable dessert. It’s the perfect balance of sweet and nutty, a treat that feels both decadent and wonderfully refreshing.
Don’t be shy about trying your hand at homemade ice cream. This recipe proves that it’s an accessible and incredibly rewarding culinary adventure. The effort is minimal, and the payoff is a dessert that far surpasses anything you can buy in a store. You’ll be so proud to say, “I made this!”
So go ahead, gather your ingredients, and whip up a batch of this amazing Toasted Coconut Ice Cream. Share it with your family and friends, or keep it all to yourself – we won’t tell! Enjoy every single creamy, dreamy bite.


