
Introduction
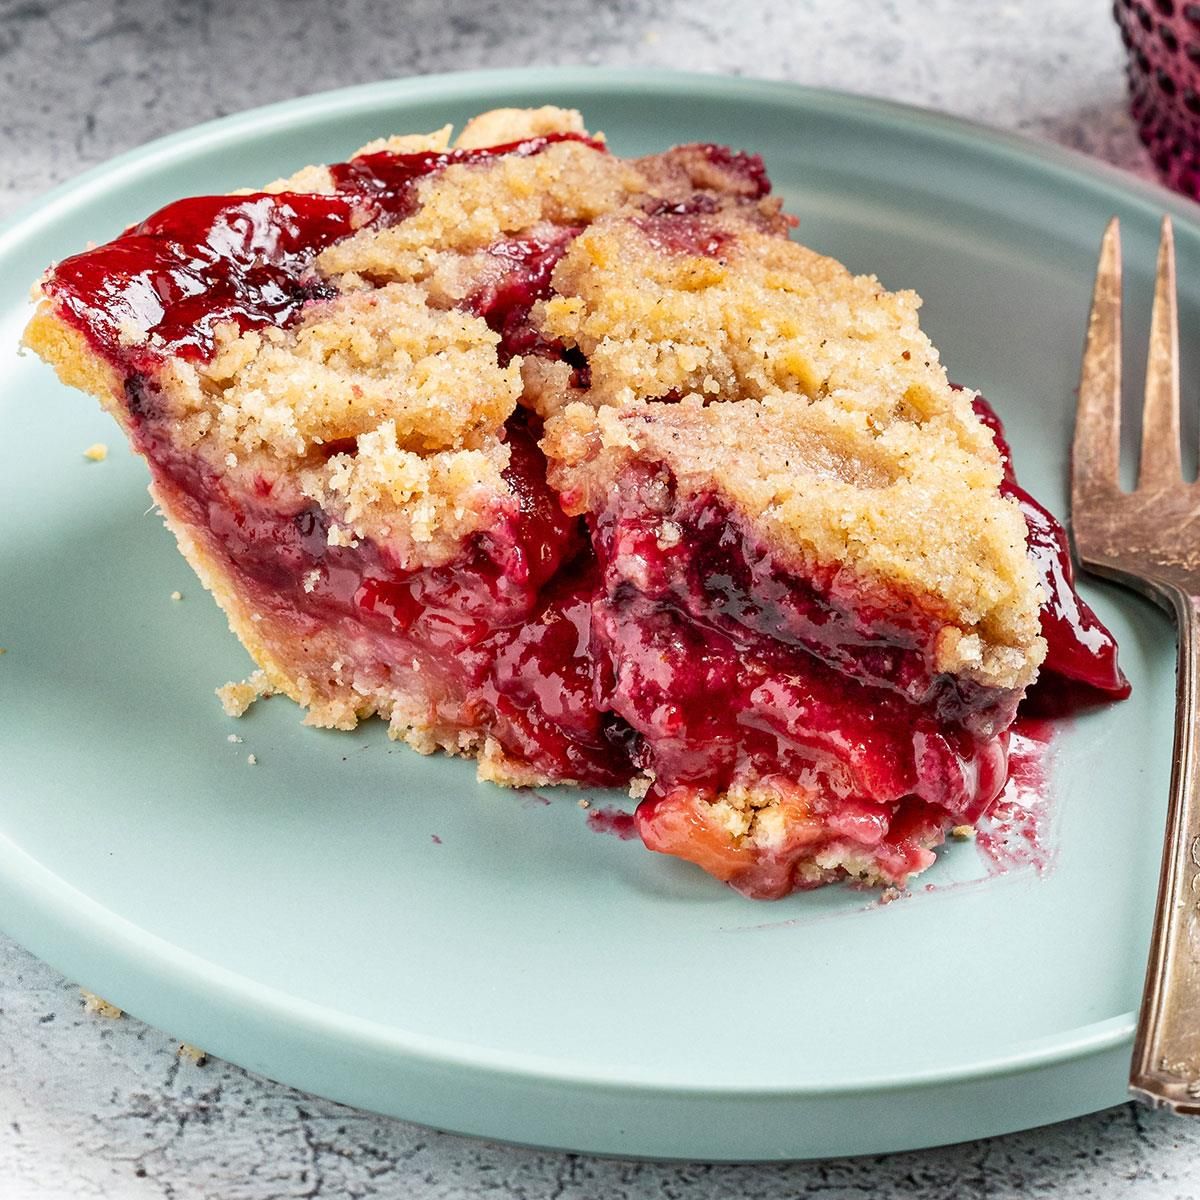
Get ready to fall in love with the ultimate taste of summer and early fall: Plum Pie! This delightful dessert features juicy, sweet-tart plums nestled in a buttery, flaky crust. It’s a comforting classic that brings a burst of seasonal flavor to your table, perfect for any gathering or a quiet treat at home.
You might think pie is complicated, but this plum pie recipe is surprisingly easy to master. We’ll use simple ingredients and straightforward steps to create a show-stopping dessert. Even if you’re new to baking, you’ll find joy in making this delicious pie from scratch (or with a little help from store-bought crust!).
So, gather your ingredients and get ready to fill your kitchen with the most wonderful aromas. This Plum Pie is more than just a dessert; it’s an experience. We promise you’ll be proud to share this homemade goodness with everyone you love. Let’s bake some magic!
Cooking Time & Prep Time
- Prep Time: 30 minutes
- Cooking Time: 50-60 minutes
- Total Time: 80-90 minutes
Small tip: If you’re using store-bought pie crusts, you can save about 15-20 minutes on prep time! Make sure to take them out of the fridge about 15 minutes before you need them so they can soften slightly.
Ingredients
This recipe makes 8 generous servings.
For the Pie Crust
- 2 (9-inch) unbaked pie crusts (store-bought or your favorite homemade recipe)
- 2 tablespoons unsalted butter, melted (for brushing the bottom crust)
For the Plum Filling
- 6 cups (about 2.5 pounds) fresh plums, firm-ripe, pitted and sliced into 1/2-inch wedges
- 1/2 cup granulated sugar (adjust to taste, depending on plum sweetness)
- 1/4 cup light brown sugar, packed
- 1/4 cup cornstarch (or all-purpose flour for a slightly less clear filling)
- 1 teaspoon ground cinnamon
- 1/4 teaspoon ground nutmeg
- 1 tablespoon fresh lemon juice
- 1/4 teaspoon salt
- 2 tablespoons unsalted butter, cut into small cubes
For the Egg Wash (Optional)
- 1 large egg, beaten
- 1 tablespoon cold water or milk
Step-by-Step Instructions
-
Step 1: Prepare Your Oven and Pie Crust
Preheat your oven to 400°F (200°C). Unroll one of the pie crusts and gently press it into a 9-inch pie dish. Trim any excess crust hanging over the edge, leaving about a 1/2-inch overhang. Brush the bottom of the crust with 2 tablespoons of melted butter. This helps prevent a soggy bottom!
Small tip: Prick the bottom of the crust several times with a fork. This helps steam escape and prevents bubbles during baking.
-
Step 2: Prepare the Plums
Wash your fresh plums thoroughly. Carefully cut them in half around the pit, twist to separate, and remove the pit. Slice each plum half into 1/2-inch thick wedges. Place all the sliced plums into a large mixing bowl.
Small tip: Choose plums that are firm but yield slightly to gentle pressure. They should smell fragrant for the best flavor.
-
Step 3: Mix the Filling Ingredients
To the bowl of sliced plums, add the granulated sugar, brown sugar, cornstarch, ground cinnamon, ground nutmeg, fresh lemon juice, and salt. Gently toss everything together until the plums are evenly coated with the sugar and spice mixture. Let it sit for 5-10 minutes to allow the plums to release some of their juices.
Small tip: Taste a small piece of plum. If your plums are very tart, you might want to add another tablespoon or two of sugar to the mixture.
-
Step 4: Assemble the Pie
Pour the plum filling evenly into the prepared pie crust in the pie dish. Dot the top of the plum filling with the small cubes of unsalted butter. These butter pieces will melt into the filling, adding richness and a lovely glossy finish.
Small tip: Arrange the plums in a slightly mounded fashion in the center, as they will cook down during baking.
-
Step 5: Add the Top Crust and Crimp
Unroll the second pie crust and carefully place it over the plum filling. Trim the edges of the top crust, leaving about a 1/2-inch overhang. Fold the top crust overhang under the bottom crust overhang and crimp the edges together to seal the pie. You can use your fingers or a fork for a decorative edge.
Small tip: For a beautiful, golden crust, make sure your crimping is sealed well to prevent the filling from bubbling out.
-
Step 6: Apply Egg Wash and Vent
In a small bowl, whisk together the beaten egg and cold water or milk for the egg wash. Brush this mixture gently over the entire top surface of the pie crust. This gives the pie a beautiful golden-brown shine. Next, cut several small slits or a decorative pattern into the top crust using a sharp knife. These vents allow steam to escape during baking.
Small tip: You can sprinkle a tablespoon of granulated sugar over the egg-washed crust for an extra sparkly finish.
-
Step 7: Bake the Pie
Place the pie on a baking sheet (this catches any potential drips and makes it easier to move). Bake in the preheated oven for 20 minutes at 400°F (200°C). Then, reduce the oven temperature to 375°F (190°C) and continue baking for another 30-40 minutes, or until the crust is golden brown and the filling is bubbly and thick. You should see juices bubbling through the vents.
Small tip: If the crust starts to brown too quickly, loosely cover the edges with aluminum foil to prevent burning.
-
Step 8: Cool Completely
Once baked, remove the pie from the oven and place it on a wire rack to cool completely. This is a crucial step! The filling needs time to set properly, usually 3-4 hours, or even longer. Slicing into a warm pie will result in a runny filling.
Small tip: Patience is key here! A fully cooled pie will slice beautifully and hold its shape.
Tips & Variations
- Gluten-Free Option: Easily make this pie gluten-free by using your favorite store-bought gluten-free pie crusts. The filling ingredients are naturally gluten-free.
- Vegan Option: For a vegan plum pie, use a vegan-friendly pie crust (many store-bought options are accidentally vegan, or make one with vegetable shortening/vegan butter). Omit the egg wash; instead, brush the top crust with a little plant-based milk (like almond or soy milk) before baking for a golden sheen.
- Added Fruit Twist: While plums are wonderful on their own, you can add 1 cup of fresh berries (like blackberries or raspberries) to the plum filling for an extra burst of flavor and color.
- Spicy Kick: If you love a little warmth, add a 1/4 teaspoon of ground ginger or a tiny pinch of cayenne pepper to the plum filling mixture. It complements the plums beautifully!
- Crumb Topping: Instead of a top pie crust, create a delicious crumb topping! Mix 1 cup all-purpose flour, 1/2 cup packed brown sugar, 1/2 teaspoon cinnamon, and 1/2 cup cold unsalted butter (cut into pieces) until crumbly. Sprinkle over the plum filling before baking.
Nutritional Information
Approximate values per serving (based on 8 servings):
- Calories: 390 kcal
- Protein: 4g
- Carbohydrates: 65g
- Fat: 15g
Note: Nutritional values may vary depending on the exact ingredients and brands used, as well as the sweetness of the plums.
Health Benefits
Plum pie isn’t just delicious; it offers some wonderful health benefits too, thanks to its star ingredient!
Plums are packed with antioxidants, especially anthocyanins, which give them their vibrant color. These compounds help fight off free radicals in your body, supporting overall cellular health.
They are also a good source of dietary fiber. Fiber is essential for digestive health, helping to keep things moving smoothly and contributing to a feeling of fullness, which can be beneficial for weight management.
You’ll also find a good amount of Vitamin C in plums, an important nutrient for immune function and skin health. Vitamin K, vital for blood clotting and bone health, is present too.
Additionally, plums contain a variety of other vitamins and minerals, including Vitamin A, potassium, and copper, all contributing to a well-rounded and healthy diet.
Serving Suggestions
- Classic Pairing: Serve a warm slice of plum pie with a scoop of vanilla bean ice cream or a dollop of freshly whipped cream. The cool creaminess perfectly complements the warm, fruity filling.
- Custard Dream: A generous pour of warm vanilla custard or crème anglaise takes this pie to an even more indulgent level.
- Breakfast Treat: Leftover pie for breakfast? Absolutely! Enjoy a slice with a side of Greek yogurt for a delightful morning treat.
Storage Tips
Store any leftover plum pie covered loosely with plastic wrap or foil at room temperature for up to 2 days, or in the refrigerator for up to 3-4 days. For longer storage, you can freeze individual slices or the whole pie (well-wrapped in plastic wrap and then foil) for up to 3 months. To reheat, thaw frozen pie in the refrigerator overnight, then warm in a 350°F (175°C) oven for 15-20 minutes until heated through. Individual slices can be warmed in the


