
Introduction
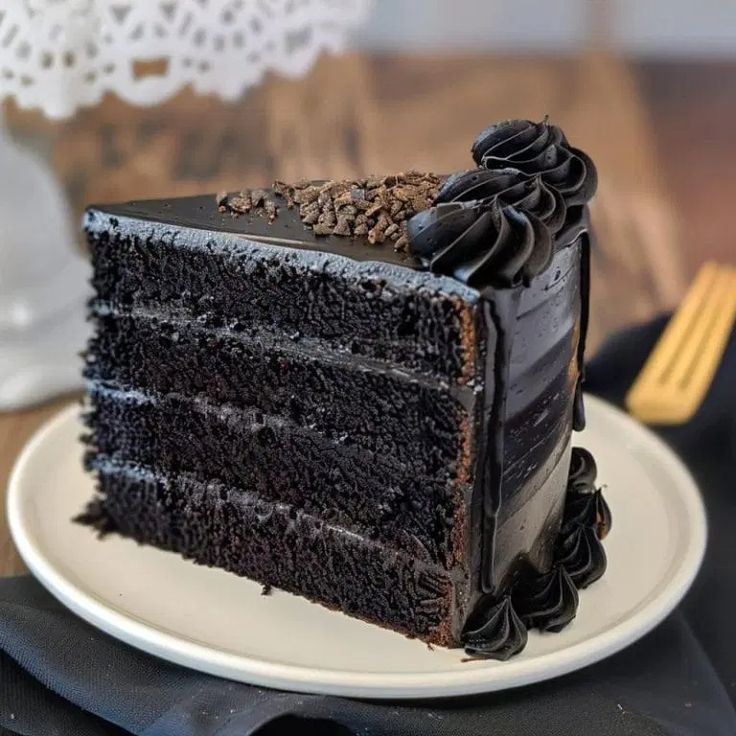
Get ready to meet your new favorite dessert: Black Velvet Cake! This stunning cake is a delightful twist on the classic red velvet, offering a deeper, richer chocolate flavor and a truly dramatic black hue. It’s incredibly moist, intensely chocolatey, and perfectly balanced with a dreamy, tangy cream cheese frosting. Every bite is pure luxury, making it a showstopper for any occasion.
You might think a cake this impressive would be difficult to make, but you’d be wrong! Black Velvet Cake is surprisingly simple to bake, even for beginners. The ingredients are straightforward, and the steps are easy to follow. We use Dutch-processed cocoa for that deep color and rich taste, with a little help from black food coloring to achieve that striking, velvety black finish. No fancy equipment or complicated techniques needed here!
So, whether you’re planning a special celebration, a Halloween party, or just want to treat yourself to something extraordinary, this Black Velvet Cake recipe is for you. It’s guaranteed to impress your family and friends with its elegant look and unbelievably delicious taste. Let’s get baking and create some magic together!
Cooking Time & Prep Time
- Prep Time: 35 minutes
- Cooking Time: 30-35 minutes
- Total Time: 65-70 minutes
Small tip: Always preheat your oven before you start mixing your batter. This ensures your oven is at the perfect temperature for even baking from the very beginning.
Ingredients
This recipe makes 16 generous servings.
For the Black Velvet Cake:
- 2 ½ cups (300g) all-purpose flour
- 1 ½ cups (300g) granulated sugar
- 1 cup (90g) unsweetened Dutch-processed cocoa powder (essential for true black color)
- 2 teaspoons baking soda
- 1 teaspoon salt
- 2 large eggs, at room temperature
- 1 cup (240ml) buttermilk, at room temperature
- ½ cup (120ml) vegetable oil (or canola/avocado oil)
- 1 teaspoon vanilla extract
- 1 cup (240ml) hot water or hot brewed coffee
- 1-2 teaspoons black gel food coloring (optional, for intense black color)
For the Cream Cheese Frosting:
- 16 oz (450g) cream cheese, softened
- ½ cup (113g) unsalted butter, softened
- 4-5 cups (480-600g) powdered sugar, sifted
- 2 teaspoons vanilla extract
- Pinch of salt
Step-by-Step Instructions
-
Step 1: Prepare Your Oven and Pans
Preheat your oven to 350°F (175°C). Lightly grease and flour two 8-inch round cake pans. You can also line the bottoms with parchment paper for extra insurance against sticking. This step ensures your cakes will release easily after baking.
Small tip: If you don’t have parchment paper, a thorough greasing and flouring will still work wonders. Make sure to tap out any excess flour.
-
Step 2: Combine Dry Ingredients
In a large bowl, whisk together the all-purpose flour, granulated sugar, Dutch-processed cocoa powder, baking soda, and salt. Make sure there are no lumps, especially in the cocoa powder. A well-combined dry mix is key to a smooth batter.
-
Step 3: Whisk Wet Ingredients
In a separate medium bowl, whisk together the eggs, buttermilk, vegetable oil, and vanilla extract. Whisk until everything is fully combined and looks smooth. Using room temperature ingredients helps them emulsify better.
-
Step 4: Combine Wet and Dry Mixtures
Pour the wet ingredient mixture into the dry ingredient mixture. Stir with a whisk or rubber spatula until just combined. Be careful not to overmix the batter; overmixing can lead to a tough cake.
-
Step 5: Add Hot Liquid and Black Color
Gradually stir in the hot water or hot brewed coffee until the batter is smooth and a little thin. Then, add the black gel food coloring, if using, and stir until the desired deep black color is achieved. The hot liquid helps to bloom the cocoa and gives the cake an incredibly moist texture.
Small tip: Using hot coffee instead of water will intensify the chocolate flavor without making the cake taste like coffee. It’s a fantastic secret ingredient!
-
Step 6: Divide Batter and Bake
Divide the cake batter evenly between your two prepared cake pans. Bake for 30-35 minutes, or until a wooden skewer inserted into the center comes out clean. The baking time can vary slightly depending on your oven.
-
Step 7: Cool the Cake Layers
Once baked, remove the cake pans from the oven and let them cool on a wire rack for about 10-15 minutes. Then, invert the cakes onto the wire rack to cool completely. Cooling completely prevents the frosting from melting.
Small tip: Never try to frost a warm cake! It will melt your beautiful frosting and make a mess. Patience is a virtue here.
-
Step 8: Make the Cream Cheese Frosting
While the cakes are cooling, prepare the frosting. In a large bowl, using an electric mixer, beat the softened cream cheese and softened unsalted butter together until smooth and creamy. Scrape down the sides of the bowl as needed.
Gradually add the sifted powdered sugar, one cup at a time, beating well after each addition. Finally, beat in the vanilla extract and a pinch of salt. Beat until the frosting is light, fluffy, and smooth. If the frosting is too thick, add a tiny splash of milk; if too thin, add more powdered sugar.
-
Step 9: Assemble and Frost the Cake
Once the cake layers are completely cool, level them with a serrated knife if necessary


