
Introduction
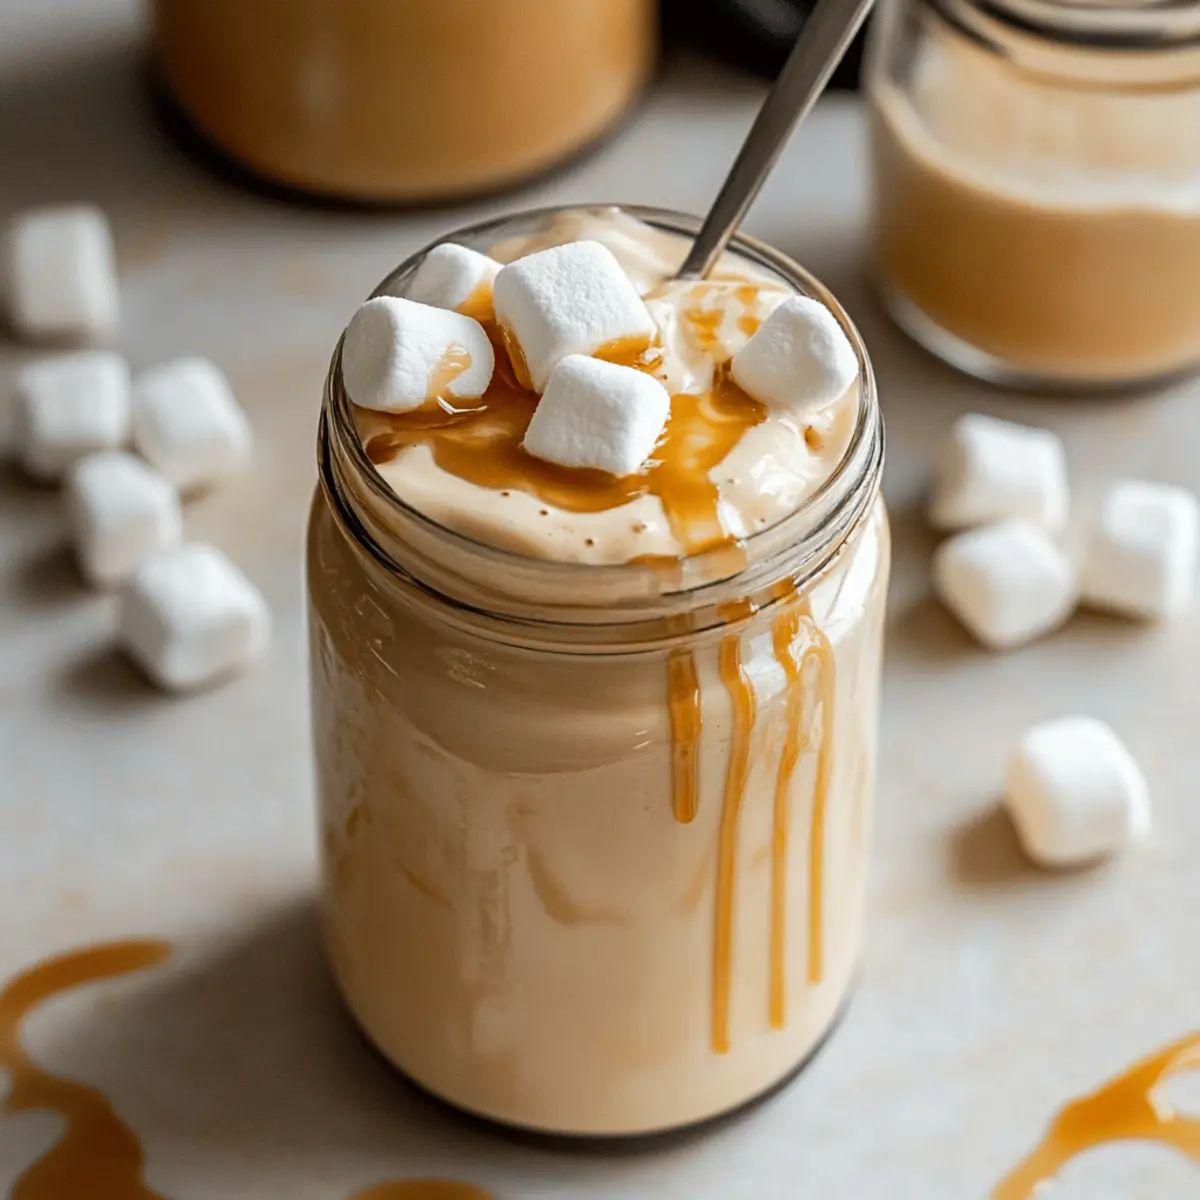
Get ready to transform your morning coffee routine into something truly magical! Today, we’re diving into the delightful world of homemade Toasted Marshmallow Creamer. Imagine the cozy, smoky-sweet flavor of marshmallows roasted over an open fire, all swirled into your favorite brew. This creamer isn’t just an addition; it’s an experience, bringing a touch of campfire comfort right to your mug.
You might think making your own creamer sounds complicated, but trust us, it’s incredibly simple and surprisingly quick. With just a few common ingredients and a little bit of heat, you can whip up a batch of this heavenly creamer in no time. It’s a fantastic way to impress guests or simply treat yourself to a gourmet coffee moment without leaving your kitchen.
So, forget those store-bought creamers with their long lists of unpronounceable ingredients. Embrace the joy of homemade goodness! This Toasted Marshmallow Creamer is rich, creamy, and bursting with that nostalgic toasted flavor. Are you ready to elevate your coffee game? Let’s get cooking!
Cooking Time & Prep Time
- Prep Time: 10 minutes
- Cooking Time: 15 minutes
- Total Time: 25 minutes
Small tip: Gather all your ingredients before you start. This makes the cooking process much smoother and faster!
Ingredients
This recipe makes approximately 4 servings (about 2 cups of creamer).
- 1 cup (240ml) whole milk (or 2% milk)
- 1 cup (240ml) heavy cream
- 1 cup mini marshmallows (about 50g)
- 2 tablespoons granulated sugar (optional, adjust to taste)
- 1 teaspoon pure vanilla extract
- Pinch of salt
Step-by-Step Instructions
Step 1: Toast Your Marshmallows
First, we need to get that signature toasted flavor! You can do this in a few ways. Spread your mini marshmallows in a single layer on a baking sheet. Broil them in the oven for 1-2 minutes until golden brown and slightly charred, watching them very carefully as they can burn quickly. Alternatively, use a kitchen torch to toast them evenly.
Small tip: If you don’t have a broiler or torch, you can gently toast them in a dry non-stick pan over medium heat, stirring constantly until browned.
Step 2: Combine Wet Ingredients
In a medium saucepan, pour in the whole milk and heavy cream. Add the granulated sugar, if you are using it, and the pinch of salt. Stir everything together gently to combine the ingredients before heating.
Small tip: The sugar is optional because marshmallows are already sweet. Taste the creamer at the end and add more sweetness if desired.
Step 3: Add Toasted Marshmallows
Add your beautifully toasted marshmallows to the milk and cream mixture in the saucepan. Make sure they are submerged in the liquid. This will help them melt down smoothly and infuse their flavor.
Small tip: Don’t worry if the marshmallows are a little sticky from toasting; they will melt right into the warm liquid.
Step 4: Heat and Melt
Place the saucepan over medium-low heat. Stir constantly with a whisk or a spoon. Continue heating until all the marshmallows have completely melted and dissolved into the liquid. This should take about 5-7 minutes. Do not let the mixture boil.
Small tip: Keeping the heat low and stirring often prevents scorching and ensures a smooth, lump-free creamer.
Step 5: Simmer and Infuse
Once the marshmallows are fully melted, let the mixture gently simmer for another 5 minutes. This allows the toasted marshmallow flavor to deeply infuse into the milk and cream, creating a richer taste. Keep stirring occasionally to prevent anything from sticking to the bottom of the pan.
Small tip: A gentle simmer means small bubbles around the edge of the pan, not a rolling boil.
Step 6: Remove from Heat and Add Vanilla
Take the saucepan off the heat. Stir in the pure vanilla extract. Vanilla enhances the sweetness and adds another layer of delicious flavor that complements the toasted marshmallow perfectly.
Small tip: Adding vanilla after removing from heat preserves its delicate flavor, as high heat can diminish it.
Step 7: Strain for Smoothness (Optional)
For an extra-smooth creamer, you can strain the mixture through a fine-mesh sieve into a clean jar or container. This removes any small bits of melted marshmallow that might not have fully dissolved. It’s not strictly necessary, but it gives a silky texture.
Small tip: If you prefer a slightly thicker, more rustic creamer, you can skip this step.
Step 8: Cool and Store
Allow the Toasted Marshmallow Creamer to cool completely to room temperature before covering it. Once cooled, transfer it to an airtight container and refrigerate. It will thicken slightly as it chills, becoming wonderfully rich and spoonable.
Small tip: Cooling it uncovered for a bit first helps prevent condensation inside the container.
Tips & Variations
- Gluten-Free Option: This recipe is naturally gluten-free! Just ensure that the marshmallows you use are certified gluten-free, as some brands may contain wheat starch.
- Vegan/Vegetarian Option: Easily make this creamer vegan by using plant-based milk (like oat, almond, or cashew milk) and a full-fat vegan cream alternative. Be sure to use vegan marshmallows, which are widely available.
- Protein Boost: While you can’t add protein directly to the creamer without affecting its texture, you can add a scoop of unflavored or vanilla protein powder to your coffee or beverage *after* adding the creamer. This way, you get the flavor without altering the creamer itself.
- Spicy Kick: For a unique twist, add a tiny pinch (about 1/8 teaspoon) of cayenne pepper or chili powder along with the milk and cream. This creates a subtle warmth that pairs surprisingly well with the sweet marshmallow.
- Chocolate Marshmallow: Stir in 1-2 tablespoons of unsweetened cocoa powder with the milk and cream in Step 2 for a decadent chocolate marshmallow creamer. You can also add a few chocolate chips at the end to melt into the warm mixture.
Nutritional Information
Approximate values per serving (based on 4 servings):
- Calories: 180-220 kcal
- Protein: 2-4 g
- Carbohydrates: 20-25 g
- Fat: 12-16 g
Note: Nutritional values may vary depending on the specific brands and types of ingredients used.
Health Benefits
While Toasted Marshmallow Creamer is certainly a treat, its base ingredients do offer some beneficial properties:
- Dairy Goodness: Milk and cream provide essential nutrients like calcium, which is vital for strong bones and teeth. They also contain Vitamin D (if fortified), which helps with calcium absorption, and B vitamins, important for energy metabolism.
- Comfort and Mood: Sometimes, the greatest benefit of a delicious treat is the pure joy and comfort it brings. Indulging in a comforting flavor like toasted marshmallow can be a wonderful mood booster and a moment of self-care.
- Antioxidants from Vanilla: Pure vanilla extract contains small amounts of antioxidants, which help protect your body’s cells from damage. While the quantity in creamer is small, every little bit counts!
- Homemade Control: Making your own creamer means you control the ingredients. You can reduce sugar, choose organic dairy, or use alternative milks, tailoring it to your dietary needs and preferences. This allows for a more mindful indulgence.
Serving Suggestions
- Coffee & Tea: The most obvious and delightful use! Stir a generous splash into your morning coffee, iced coffee, or even black tea for a sweet, creamy, and flavorful boost.
- Hot Chocolate Upgrade: Add a dollop of this creamer to your regular hot chocolate for an extra layer of marshmallowy richness and toasted depth.
- Dessert Drizzle: Use it as a sweet drizzle over ice cream, pancakes, waffles, or even fruit salad for a unique dessert topping.
- Milkshake Base: Blend it with ice, milk, and a scoop of vanilla ice cream for an incredible toasted marshmallow milkshake.
Storage Tips
Store your homemade Toasted Marshmallow Creamer in a clean, airtight container (like a glass jar) in the refrigerator. It will stay fresh for up to 5-7 days. While you can technically freeze dairy products, creamer can sometimes separate upon thawing, affecting its smooth texture. For best results, we recommend making smaller batches and enjoying it fresh. To reheat, gently warm a portion on the stovetop over low heat or in the microwave, stirring well until smooth and warm, but do not boil.
Conclusion
There you have it – a simple, delightful, and utterly delicious recipe for Toasted Marshmallow Creamer! This homemade treat is a game-changer for anyone who loves their coffee with a hint of something special. It’s incredibly easy to make, uses wholesome ingredients, and delivers that nostalgic, comforting flavor of perfectly toasted marshmallows.
Don’t just dream about a gourmet coffee experience; make it a reality in your own kitchen. Taking a few minutes to prepare this creamer will pay off in countless moments of pure joy, transforming your everyday brew into an extraordinary indulgence. It’s a small effort for a big reward!
So, go ahead and give this recipe a try. Brew your favorite coffee, swirl in this amazing creamer, and savor every sip. It’s perfect for cozy mornings, afternoon pick-me-ups, or for sharing with family and friends. Happy stirring!


