
Introduction
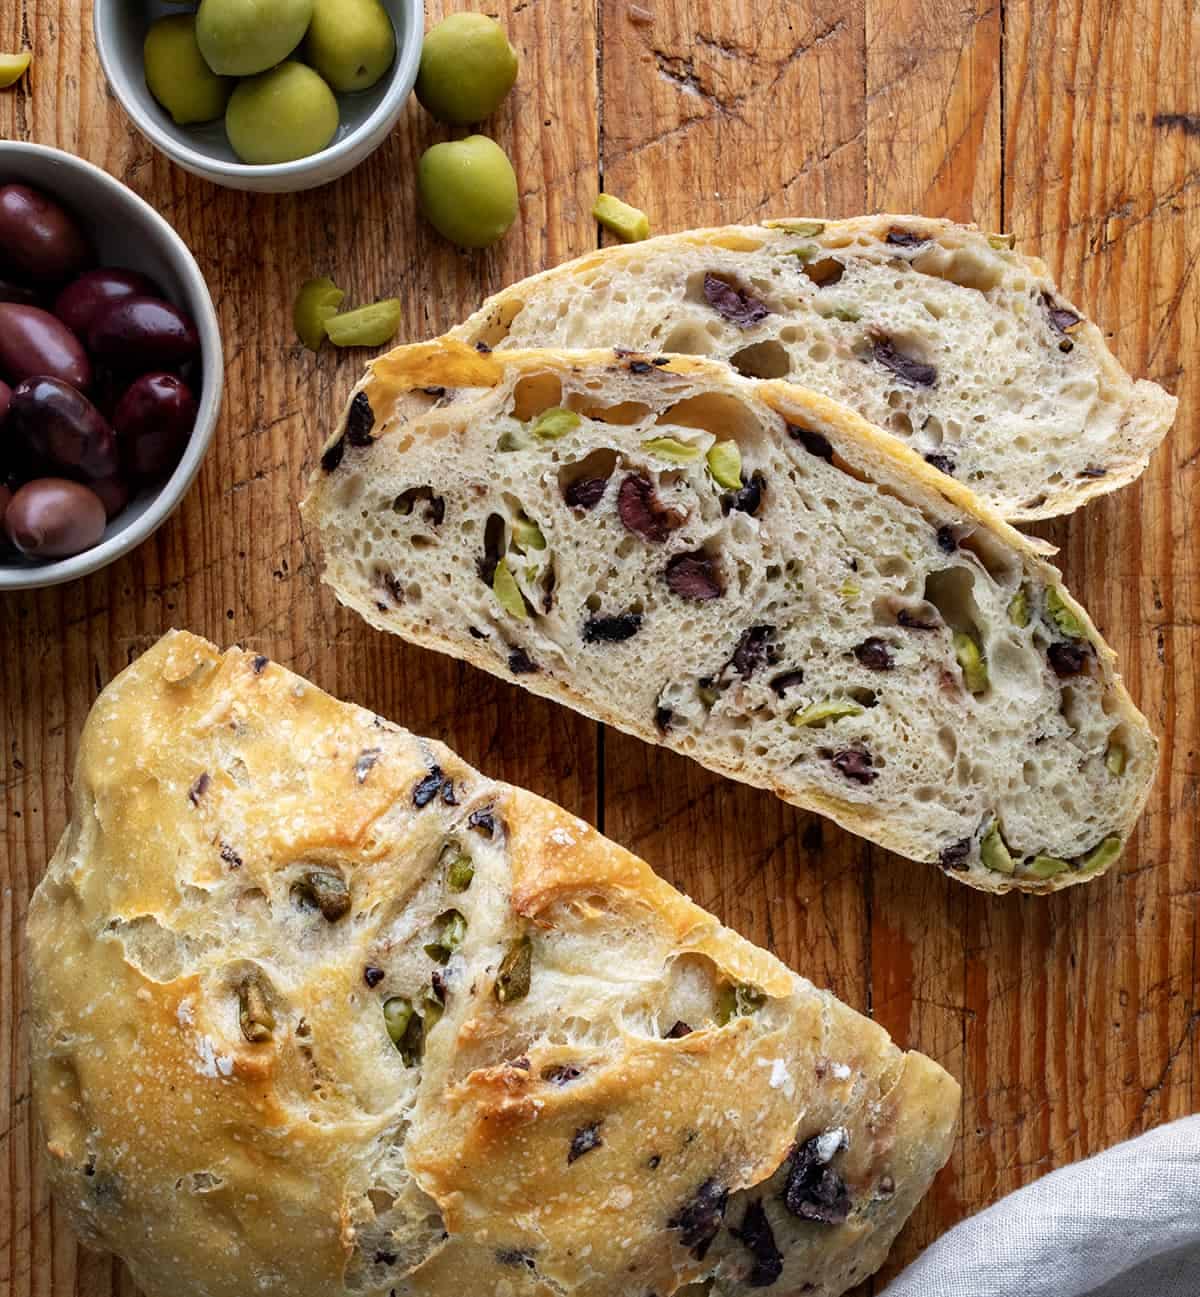
Get ready to discover your new favorite bread! Our Olive Oil Bread is a soft, fragrant, and utterly delicious loaf that tastes like it came straight from a fancy bakery. It has a beautiful golden crust, a wonderfully tender crumb, and a rich, subtle flavor from plenty of good olive oil. It’s perfect for dipping, making sandwiches, or just enjoying on its own.
You might think making bread is complicated, but this recipe is here to prove you wrong! We’ve designed it to be super easy, even for beginner bakers. With minimal kneading and simple steps, you’ll have a warm, homemade loaf in no time. It uses basic pantry ingredients and doesn’t require any special equipment, making it a joy to bake.
Imagine the aroma filling your kitchen! This Olive Oil Bread is a simple pleasure that brings so much warmth and comfort. So, grab your apron, gather your ingredients, and let’s make some magic. You’ll be so proud to pull this beautiful bread out of your oven!
Cooking Time & Prep Time
- Prep Time: 20 minutes
- Rise Time: 60 minutes
- Cooking Time: 30 minutes
- Total Time: 110 minutes
Small tip: You can prepare the dough the night before and let it do its first rise slowly in the refrigerator overnight. Just bring it to room temperature for 30 minutes before the second rise.
Ingredients
This recipe makes 8 generous servings of Olive Oil Bread.
For the Dough
- 3 cups (360g) all-purpose flour, plus more for dusting
- 1 teaspoon active dry yeast
- 1 teaspoon granulated sugar (feeds the yeast)
- 1 teaspoon salt
- 1 ½ cups (360ml) warm water (around 105-115°F / 40-46°C)
- ¼ cup (60ml) extra virgin olive oil, plus extra for the bowl
For the Topping
- 2 tablespoons extra virgin olive oil
- 1 teaspoon dried rosemary (or 1 tablespoon fresh, chopped)
- ½ teaspoon flaky sea salt
Step-by-Step Instructions
-
Step 1: Activate the Yeast
In a large mixing bowl, combine the warm water and granulated sugar. Sprinkle the active dry yeast over the top. Stir gently and let it sit for 5-10 minutes until it becomes foamy. This shows your yeast is active and ready to work!
Small tip: Make sure your water isn’t too hot (it will kill the yeast) or too cold (it won’t activate it). -
Step 2: Combine Dry Ingredients
In a separate medium bowl, whisk together the all-purpose flour and salt. Make sure they are well combined. This helps distribute the salt evenly throughout your bread.
-
Step 3: Mix the Dough
Pour the ¼ cup of olive oil into the foamy yeast mixture. Then, gradually add the dry flour mixture to the wet ingredients, stirring with a wooden spoon or a sturdy spatula. Mix until a shaggy, sticky dough forms and no dry streaks of flour remain. There’s no need for intense kneading here.
-
Step 4: First Rise
Lightly oil a clean bowl with a little extra virgin olive oil. Transfer the dough to this bowl, turning it once to coat all sides with oil. Cover the bowl tightly with plastic wrap or a clean kitchen towel. Let the dough rise in a warm place for about 60 minutes, or until it has doubled in size.
Small tip: A warm oven (turned off!) with the light on can be a perfect spot for rising dough, especially on a cold day. -
Step 5: Prepare the Baking Dish
While the dough is rising, lightly grease a 9×13 inch baking dish (or a similar size) with about 1 tablespoon of olive oil. You can also use a round 9-inch cast iron skillet for a rustic look. Ensure the bottom and sides are well coated.
-
Step 6: Shape the Dough
Once the dough has doubled, gently punch it down to release the air. Transfer the dough to your prepared baking dish. Use your oiled fingertips to gently stretch and press the dough to fill the bottom of the dish. Don’t worry if it doesn’t reach the edges immediately; it will relax as you work.
-
Step 7: Second Rise & Dimpling
Cover the baking dish loosely with plastic wrap or a kitchen towel. Let the dough rise again for another 20-30 minutes, or until it looks puffy. Just before baking, use your oiled fingertips to gently press dimples all over the surface of the dough. This creates those lovely pockets for the olive oil topping.
Small tip: Be gentle when dimpling so you don’t deflate all the air from your second rise. -
Step 8: Add Topping and Bake
Preheat your oven to 400°F (200°C). Drizzle the remaining 2 tablespoons of olive oil evenly over the dimpled dough. Sprinkle with dried rosemary and flaky sea salt. Bake for 25-30 minutes, or until the bread is golden brown on top and cooked through. The internal temperature should be around 200-210°F (93-99°C).
-
Step 9: Cool and Serve
Once baked, remove the bread from the oven. Let it cool in the baking dish for 5-10 minutes before carefully transferring it to a wire rack to cool completely. Slicing it while warm is tempting, but letting it cool slightly improves its texture. Serve warm or at room temperature.
Small tip: A serrated knife works best for slicing through the crusty exterior and soft interior of the bread.
Tips & Variations
- Gluten-Free Option: You can substitute the all-purpose flour with a 1:1 gluten-free baking flour blend that contains xanthan gum. You might need a tiny bit more water as gluten-free flours absorb liquids differently.
- Vegan Option: This recipe is naturally vegan! It uses no animal products like eggs or dairy, making it perfect for plant-based diets.
- Add More Flavor: Incorporate finely minced garlic (2-3 cloves) into the dough or sprinkle it over the top with the rosemary before baking. You can also add chopped olives or sun-dried tomatoes to the dough for a Mediterranean twist.
- Cheese Please: For a cheesy version, sprinkle ½ cup of grated Parmesan or nutritional yeast (for a dairy-free cheesy flavor) over the top along with the rosemary and sea salt before baking.
- Sweet Version: Instead of savory toppings, drizzle with honey or maple syrup after baking for a sweet treat. A sprinkle of cinnamon could also be nice!
Nutritional Information
Approximate values per serving (based on 8 servings):
- Calories: 280 kcal
- Protein: 7g
- Carbohydrates: 39g
- Fat: 11g
Please note: These values are approximate and may vary depending on the specific brands and quantities of ingredients used.
Health Benefits
Our Olive Oil Bread isn’t just delicious; it also offers some wonderful health benefits, thanks to its star ingredient!
Extra Virgin Olive Oil: This heart-healthy fat is a cornerstone of the Mediterranean diet. It’s rich in monounsaturated fatty acids, which are known to help lower bad cholesterol levels and reduce the risk of heart disease. Olive oil also contains powerful antioxidants, like polyphenols, that protect your cells from damage.
Yeast: Beyond making your bread rise, yeast provides B vitamins, including thiamine, riboflavin, niacin, and folic acid. These vitamins are essential for energy production, nerve function, and maintaining healthy skin and hair.
Flour (especially if using whole wheat): While this recipe uses all-purpose flour, opting for a portion of whole wheat flour would boost the fiber content. Fiber is crucial for digestive health, helps regulate blood sugar, and contributes to a feeling of fullness. Even enriched all-purpose flour provides essential nutrients like iron and B vitamins.
Enjoying this bread in moderation as part of a balanced diet can certainly contribute to your well-being. It’s a satisfying way to get healthy fats and some essential nutrients.
Serving Suggestions
- Dipping Delight: Serve warm slices with a small bowl of extra virgin olive oil, a sprinkle of black pepper, and a dash of balsamic vinegar for dipping.
- Soup & Salad Companion: This bread is the perfect accompaniment to a hearty soup or a fresh, crisp salad. Its mild flavor won’t overpower your main dish.
- Sandwich Starter: Use thick slices to make incredible open-faced sandwiches. Top with fresh mozzarella, tomatoes, and basil, or grilled vegetables and hummus.
- Breakfast Treat: Toast a slice and top it with avocado and a poached egg, or a smear of your favorite jam for a comforting breakfast.
- Meal Prep Idea: Bake a loaf on Sunday and enjoy it throughout the week. It pairs well with almost any meal and makes for quick, easy sides.
Storage Tips: Store leftover Olive Oil Bread at room temperature in an airtight container or a bread bag for up to 3-4 days. To keep it fresh longer, you can freeze individual slices or the whole loaf. Wrap it tightly in plastic wrap, then in foil, and freeze for up to 2-3 months. Reheat frozen slices in a toaster oven or a regular oven at 350°F (175°C) until warmed through and crispy.
Conclusion
There you have it – your very own homemade Olive Oil Bread! This recipe proves that baking bread doesn’t have to be intimidating. It’s a simple pleasure that yields incredibly satisfying results. The soft texture, fragrant olive oil, and hint of rosemary create a truly irresistible experience.
You’ll love how easy it is to whip up this beautiful loaf, and your kitchen will smell absolutely divine in the process. It’s the kind of comforting food that makes any meal feel a little more special. Don’t hesitate; give this recipe a try today!
So go ahead, slice into that warm, golden crust. Share a piece with family, offer it to friends, or simply savor it all yourself. It’s a little taste of culinary magic you created with your own hands. Happy baking!


