
Introduction
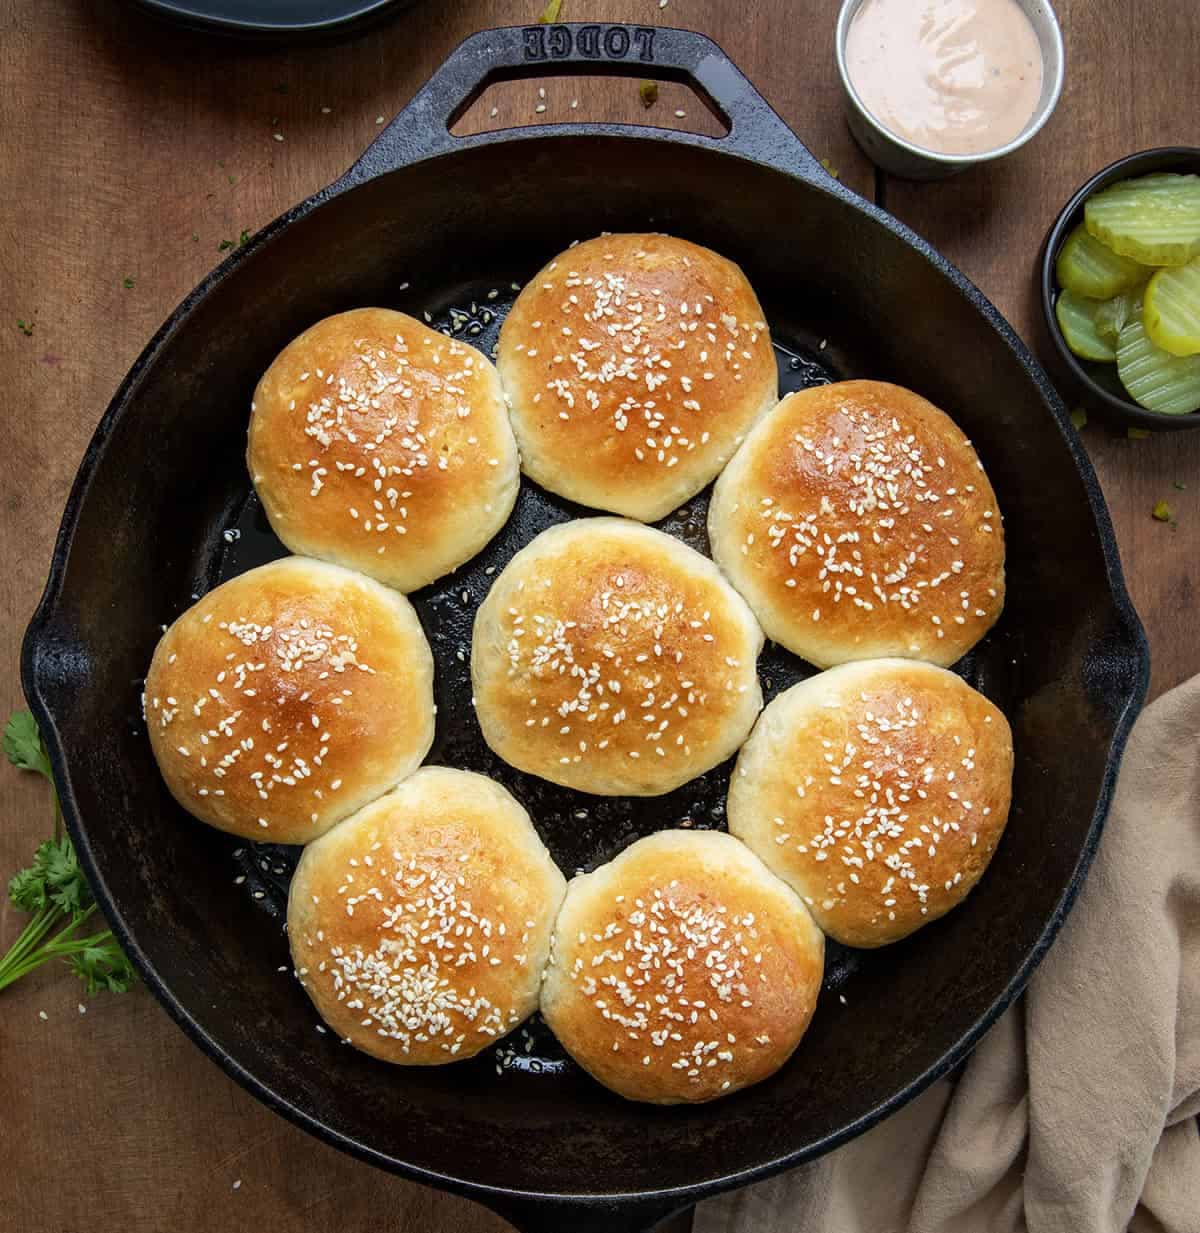
Get ready to meet your new favorite snack or party food: Cheeseburger Bombs! Imagine all the deliciousness of a classic cheeseburger, but in a fun, bite-sized package. Each “bomb” features seasoned ground beef and melty cheese, all wrapped up in a fluffy, golden biscuit dough. They are truly an explosion of flavor!
The best part? These bombs are incredibly easy and quick to make. We’re using simple ingredients and smart shortcuts, like pre-made biscuit dough, to get these on your table in no time. It’s a fantastic recipe for busy weeknights or when you need a crowd-pleasing appetizer without all the fuss.
So, whether you’re looking for a fun dinner idea, a game day treat, or just a comforting snack, these Cheeseburger Bombs are sure to be a hit. Gather your ingredients and get ready to create some culinary magic. You’ll be amazed at how simple and satisfying they are!
Cooking Time & Prep Time
- Prep Time: 25 minutes
- Cooking Time: 18 minutes
- Total Time: 43 minutes
Small tip: To save even more time, you can cook the ground beef mixture a day in advance and store it in the refrigerator. This makes assembly super fast!
Ingredients
This recipe makes 8 delicious Cheeseburger Bombs.
For the Cheeseburger Filling:
- 1 tablespoon olive oil
- 1 pound lean ground beef (80/20 preferred)
- 1/4 cup finely diced yellow onion
- 1 teaspoon garlic powder
- 1/2 teaspoon salt
- 1/4 teaspoon black pepper
- 2 tablespoons ketchup
- 1 tablespoon yellow mustard
- 1 teaspoon Worcestershire sauce
- 1 cup shredded sharp cheddar cheese
For the Dough and Topping:
- 1 (16.3-ounce) can refrigerated flaky biscuit dough (8 count)
- 2 tablespoons unsalted butter, melted
- 1 tablespoon sesame seeds (optional, for garnish)
For Serving (Optional):
- Dill pickle slices
- Extra ketchup or mustard
- Special burger sauce
Step-by-Step Instructions
-
Step 1: Cook the Ground Beef
Heat the olive oil in a large skillet over medium-high heat. Add the ground beef and diced onion. Cook, breaking up the beef with a spoon, until it is fully browned and the onion is softened. Drain off any excess grease thoroughly.
Small tip: Draining the grease is important for preventing soggy bombs and ensuring a better texture.
-
Step 2: Season the Beef Mixture
Return the drained beef and onion to the skillet. Stir in the garlic powder, salt, black pepper, ketchup, mustard, and Worcestershire sauce. Cook for another 2-3 minutes, stirring constantly, to allow the flavors to meld. Remove the skillet from the heat and let the mixture cool slightly.
Small tip: Allowing the beef mixture to cool a bit makes it easier to handle when assembling the bombs.
-
Step 3: Prepare the Dough
Preheat your oven to 375°F (190°C). Line a baking sheet with parchment paper or a silicone baking mat. Open the can of biscuit dough and separate each biscuit. Gently flatten each biscuit into a round about 4-5 inches in diameter.
Small tip: You can use your hands or a rolling pin to gently flatten the biscuits. Don’t make them too thin or they might tear.
-
Step 4: Assemble the Cheeseburger Bombs
In a medium bowl, combine the cooled beef mixture with the shredded cheddar cheese. Stir well until the cheese is evenly distributed. Place about 2-3 tablespoons of the cheeseburger filling in the center of each flattened biscuit. Bring the edges of the dough up and over the filling, pinching them firmly together at the top to seal completely. Make sure there are no gaps!
Small tip: A good seal is key to keeping the cheesy filling inside while baking. Take your time with this step.
-
Step 5: Bake the Bombs
Place the sealed cheeseburger bombs seam-side down on the prepared baking sheet. Brush the tops of each bomb with the melted butter. If desired, sprinkle sesame seeds over the buttered tops for that classic burger bun look. Bake for 15-20 minutes, or until the bombs are golden brown and puffed up.
Small tip: Keep an eye on the bombs during the last few minutes of baking to prevent over-browning. Ovens can vary!
-
Step 6: Serve and Enjoy
Once baked, carefully remove the cheeseburger bombs from the oven. Let them cool on the baking sheet for a few minutes before serving. This helps the cheese set a little and prevents burns. Serve warm with your favorite burger condiments like pickle slices, extra ketchup, or a zesty burger sauce.
Small tip: These are best enjoyed warm, but they are still tasty at room temperature for parties.
Tips & Variations
- Gluten-Free Option: Simply swap out the regular refrigerated biscuit dough for a gluten-free biscuit dough alternative. Always check the ingredient list to ensure it meets your dietary needs.
- Vegan or Vegetarian Option: Use a plant-based ground “meat” substitute and vegan shredded cheddar cheese. Ensure your biscuit dough is also vegan (many brands are, but check the label!).
- Add More Vegetables or Protein: For extra nutrition, finely dice bell peppers, mushrooms, or spinach and sauté them with the onion before adding the ground beef. You could also mix in some crumbled cooked bacon for a bacon cheeseburger bomb!
- Spicy Version: Kick up the heat by adding a pinch of red pepper flakes to the beef mixture. You can also mix in some finely diced jalapeños or a dash of hot sauce for a fiery twist.
- Different Cheese or Dipping Sauces: Experiment with different types of cheese like Monterey Jack, pepper jack, or a Colby-Jack blend. Serve with a variety of dipping sauces such as ranch, barbecue sauce, or a homemade special sauce.
Nutritional Information
Approximate values per serving (based on 8 servings):
- Calories: 350-400 kcal
- Protein: 20-25 g
- Carbohydrates: 25-30 g
- Fat: 20-25 g
Note: Nutritional values may vary depending on specific brands and ingredients used. These are estimates for general guidance.
Health Benefits
While these Cheeseburger Bombs are a fun indulgence, many of their core ingredients offer some great health benefits!
Lean Ground Beef: This provides a fantastic source of high-quality protein, which is essential for muscle repair and growth. It’s also rich in iron, vital for healthy blood, and various B vitamins like B12, important for energy and nerve function.
Onions: Even a small amount of onion adds flavor and health benefits. Onions contain antioxidants and compounds that may help reduce inflammation. They also provide some dietary fiber, which supports digestive health.
Cheddar Cheese: Cheese is well-known for being an excellent source of calcium, crucial for strong bones and teeth. It also contributes protein and healthy fats to the meal, helping you feel satisfied.
Enjoying a balanced meal means incorporating a variety of foods. Pairing these bombs with a fresh side salad can boost your vegetable intake and add even more nutrients to your plate.
Serving Suggestions
- Classic Pairing: Serve these Cheeseburger Bombs alongside a pile of crispy French fries or sweet potato fries for a complete comfort food experience.
- Lighter Side: For a fresher meal, pair them with a simple green salad tossed in a light vinaigrette. A creamy coleslaw also makes a wonderful accompaniment.
- Soup & Sandwich Twist: These bombs make a fantastic “sandwich” element to go with a bowl of tomato soup or a hearty chili, especially on a chilly day.
- Party Appetizer: Cut them in half and arrange them on a platter with small bowls of various dipping sauces (ketchup, mustard, special sauce, ranch) for an irresistible party snack.
- Meal Prep Idea: Cook the beef mixture ahead of time. When ready to eat, simply assemble the bombs with fresh biscuit dough and bake. This makes for a super quick weeknight dinner!
Storage Tips
Leftover Cheeseburger Bombs can be stored in an airtight container in the refrigerator for up to 3-4 days. They can also be frozen, either baked or unbaked. To freeze unbaked, assemble them, place them on a baking sheet, and freeze until solid. Then transfer to a freezer-safe bag for up to 2-3 months. Bake from frozen, adding a few extra minutes to the cooking time. To reheat baked bombs, use an oven or air fryer at 350°F (175°C) for about 8-10 minutes until warmed through and crispy.
Conclusion
There you have it – the incredibly delicious and surprisingly simple Cheeseburger Bombs! This recipe truly captures all the savory, cheesy goodness of a classic burger in a convenient, handheld form. They’re perfect for satisfying those burger cravings without all the fuss of grilling.
Whether you’re making them for a quick family dinner, a fun game night with friends, or a casual get-together, these bombs are guaranteed to be a hit. The combination of seasoned beef, melted cheese, and golden biscuit dough is simply irresistible. Plus, with all the tips and variations, you can easily customize them to your liking.
So don’t wait! Gather your ingredients and give these Cheeseburger Bombs a try. Your taste buds (and your family and friends!) will thank you for bringing this fun and flavorful dish to the table. Happy cooking!


