
Introduction
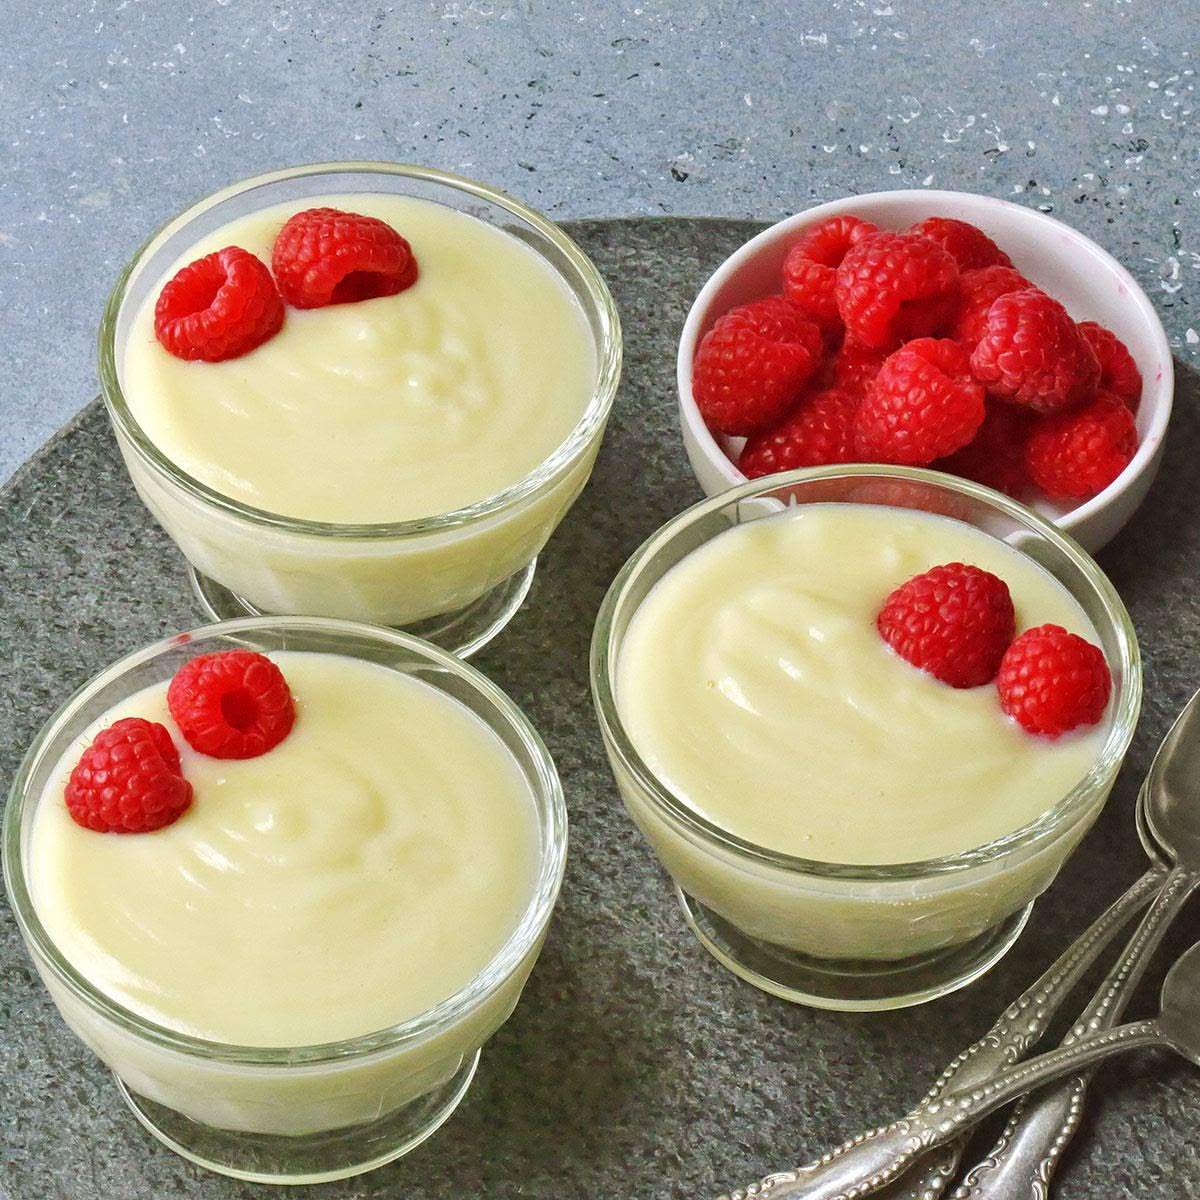
There’s nothing quite like a bowl of homemade vanilla pudding. It’s a true classic, a dessert that brings back warm memories for so many. Imagine a creamy, smooth, and wonderfully comforting treat, rich with the pure, sweet aroma of vanilla. This isn’t just any pudding; it’s a simple luxury that truly delights the senses with every spoonful.
You might think making pudding from scratch is complicated, but it’s surprisingly easy! This recipe uses everyday ingredients you likely already have in your pantry. With just a little whisking and gentle heating, you’ll create a dessert that tastes far superior to anything from a box. It’s quick to prepare and mostly hands-off while it chills.
So, are you ready to whisk up some magic? This vanilla pudding is perfect for a quiet evening treat, a delightful dessert for guests, or a sweet surprise for the kids. I promise you, once you try this homemade version, you’ll never go back. Let’s get cooking!
Cooking Time & Prep Time
- Prep Time: 15 minutes
- Cooking Time: 10 minutes
- Total Time: 25 minutes (plus at least 2 hours chilling time)
Small tip: The chilling time is crucial for the pudding to set properly and develop its full creamy texture. Don’t rush this step!
Ingredients
This recipe makes 4 generous servings.
- 3 cups whole milk (or 2% milk)
- 1/2 cup granulated sugar
- 1/4 cup cornstarch
- 1/4 teaspoon salt
- 2 large egg yolks
- 2 tablespoons unsalted butter, cut into small pieces
- 1 1/2 teaspoons pure vanilla extract
Step-by-Step Instructions
-
Step 1: Whisk Dry Ingredients
In a medium-sized heavy-bottomed saucepan, whisk together the granulated sugar, cornstarch, and salt until well combined. This ensures there are no lumps of cornstarch later. A good whisk makes all the difference here.
Small tip: Using a heavy-bottomed saucepan helps prevent scorching the milk, giving you a smoother pudding.
-
Step 2: Add Milk and Egg Yolks
Gradually pour about 1/2 cup of the milk into the dry mixture, whisking constantly until it forms a smooth paste. Then, add the two egg yolks to this paste and whisk until completely blended and smooth. This creates a slurry that will thicken the pudding beautifully.
Small tip: Whisking the egg yolks into a small amount of the milk mixture first prevents them from scrambling when added to the hot milk.
-
Step 3: Combine and Heat
Pour the remaining 2 1/2 cups of milk into the saucepan with the sugar-cornstarch-egg yolk mixture. Whisk everything together until it’s fully incorporated. Place the saucepan over medium heat.
Small tip: Keep the heat at medium. Too high heat can cause the milk to scorch or the eggs to curdle. Patience is key for perfect pudding.
-
Step 4: Cook Until Thickened
Cook the mixture, stirring constantly with a whisk or a rubber spatula, for 5 to 8 minutes. You’ll notice it will start to thicken considerably and come to a gentle boil. Continue to stir and boil gently for about 1 minute to ensure the cornstarch is fully cooked and activated.
Small tip: Don’t stop stirring! This constant motion prevents lumps from forming and ensures even cooking. Scrape the bottom and sides of the pan often.
-
Step 5: Add Butter and Vanilla
Remove the saucepan from the heat immediately. Add the small pieces of unsalted butter and the pure vanilla extract to the hot pudding. Stir gently until the butter is completely melted and the vanilla is well distributed throughout the pudding.
Small tip: Adding butter at the end gives the pudding an extra silky texture and a lovely sheen. Pure vanilla extract offers the best flavor.
-
Step 6: Portion and Chill
Pour the warm vanilla pudding into individual serving bowls, ramekins, or a larger serving dish. Cover each dish with plastic wrap, pressing the wrap directly onto the surface of the pudding to prevent a skin from forming. Let it cool on the counter for about 15-20 minutes, then transfer to the refrigerator to chill for at least 2 hours, or until fully set and cold.
Small tip: Pressing the plastic wrap directly onto the pudding surface is essential for preventing that undesirable “skin” from forming on top.
Tips & Variations
- Gluten-Free Option: This recipe is naturally gluten-free as it uses cornstarch, not flour. Always double-check labels on your ingredients (especially vanilla extract) to ensure they are certified gluten-free if you have severe sensitivities.
- Vegan/Vegetarian Option: For a delicious vegan version, substitute the whole milk with full-fat coconut milk or a rich oat milk. Replace the egg yolks with an additional 1 tablespoon of cornstarch (for a total of 1/4 cup + 1 tbsp cornstarch), and use a plant-based butter alternative. The texture will be slightly different but still wonderfully creamy!
- Protein Boost & Healthy Additions: To add more protein, use a higher protein milk (like ultra-filtered milk) or stir in a scoop of unflavored or vanilla protein powder *after* the pudding has cooled slightly (to avoid denaturing the protein). For extra nutrients, serve with a generous topping of fresh berries, sliced bananas, or a sprinkle of chopped nuts.
- Spicy Version: For a unique twist, add a tiny pinch (about 1/8 teaspoon) of cayenne pepper and 1/4 teaspoon of ground cinnamon along with the sugar and cornstarch in Step 1. This creates a subtle warmth and depth, reminiscent of Mexican hot chocolate, that beautifully complements the vanilla.
- Flavor Variations: Easily transform this pudding! For chocolate pudding, whisk in 1/4 cup unsweetened cocoa powder with the dry ingredients. For a citrus twist, add 1-2 teaspoons of lemon or orange zest with the vanilla. Coffee lovers can dissolve 1 teaspoon of instant espresso powder in a tablespoon of warm milk before adding it to the pudding.
Nutritional Information
Approximate values per serving (based on 4 servings):
- Calories: 320 kcal
- Protein: 8g
- Carbohydrates: 40g
- Fat: 14g
Note: These values are approximate and may vary depending on the specific brands and types of ingredients used.
Health Benefits
While vanilla pudding is a delightful treat, homemade versions offer some wholesome benefits compared to store-bought mixes.
Milk: A primary ingredient, milk is an excellent source of calcium, which is vital for strong bones and teeth. It also provides Vitamin D, which aids in calcium absorption, and essential proteins for muscle repair and growth. Using whole milk ensures a good dose of healthy fats.
Egg Yolks: The egg yolks in this recipe contribute more than just richness. They are packed with choline, a nutrient crucial for brain health and nerve function. They also provide fat-soluble vitamins like A, D, E, and K, and beneficial antioxidants.
Vanilla Extract: Pure vanilla extract contains beneficial antioxidants, including vanillin. Beyond its delightful flavor, vanilla has been studied for its potential anti-inflammatory properties and its ability to act as a mood enhancer. It’s a wonderful way to add natural flavor without excessive sugar.
Homemade Goodness: Making pudding from scratch means you control the ingredients. You avoid artificial flavors, colors, and excessive preservatives often found in packaged puddings. This makes your homemade vanilla pudding a more wholesome and transparent choice for dessert.
Serving Suggestions
- Classic Toppings: Serve chilled with a dollop of freshly whipped cream, a sprinkle of chocolate shavings, or a dusting of cinnamon.
- Fruity Freshness: Top with fresh berries (strawberries, blueberries, raspberries), sliced bananas, or a vibrant fruit compote for added flavor and texture.
- Crunchy Delights: Add a textural contrast with a sprinkle of crushed graham crackers, shortbread cookies, toasted nuts, or homemade granola.
- Elegant Dessert: Layer the pudding with cake crumbs, fruit, and whipped cream in a parfait glass for a more elegant presentation.
- Coffee Break Companion: Enjoy a small bowl of this comforting pudding alongside your favorite coffee or tea.
Storage Tips
Homemade vanilla pudding keeps beautifully in the refrigerator for up to 3-4 days when covered tightly with plastic wrap (ensure it touches the surface to prevent a skin). Freezing is not recommended as it can alter the creamy texture, making it grainy or watery upon thawing. If you wish to warm it slightly, gently reheat in a saucepan over low heat, stirring constantly, until just warm. Do not boil, as this can cause it to separate or curdle.
Conclusion
There you have it – a truly irresistible homemade vanilla pudding recipe that’s simple, satisfying, and utterly delicious. This classic dessert proves that sometimes, the most comforting treats are the ones made with basic ingredients and a little love. Its smooth, creamy texture and pure vanilla flavor are a timeless delight that everyone will adore.
Don’t hesitate to give this recipe a try. You’ll be amazed at how easy it is to create such a luscious dessert from scratch. The effort is minimal, but the reward is immense – a rich, velvety pudding that tastes like pure joy. It’s truly a game-changer for anyone who loves a good dessert.
So, gather your ingredients, follow these simple steps, and get ready to enjoy a bowl of pure comfort. Share it with your family, surprise your friends, or simply savor it yourself. This homemade vanilla pudding is more than just a dessert; it’s an experience waiting to be made and cherished.


