
Introduction
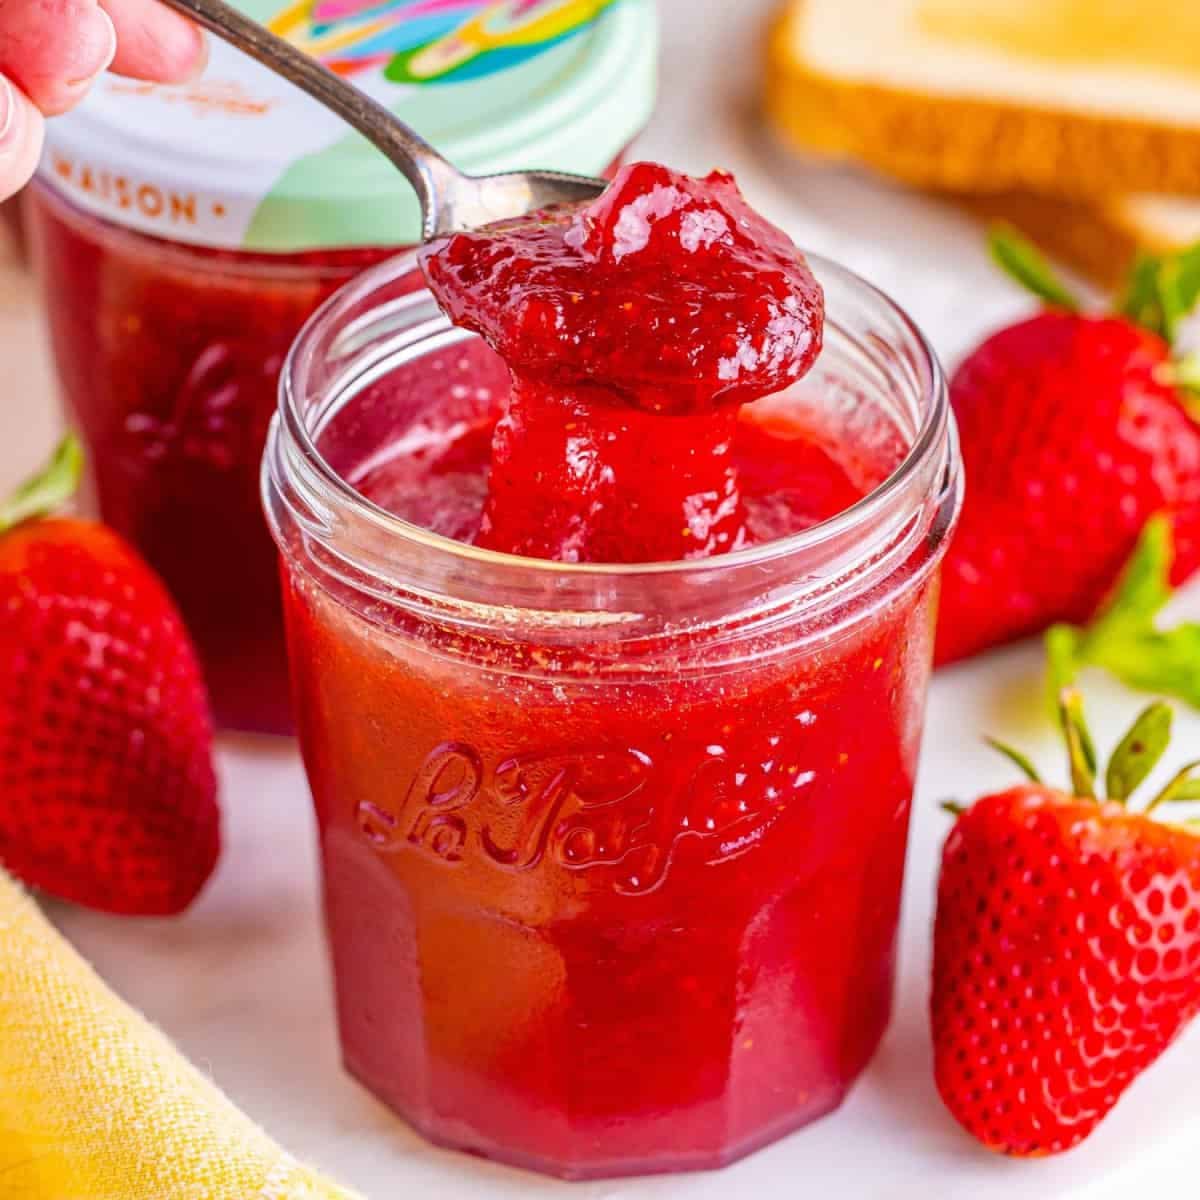
Get ready to capture the sweet essence of summer in a jar! Homemade strawberry jam is an absolute delight. It’s bursting with fresh fruit flavor, a vibrant color, and that irresistible sweet-tart balance. Forget store-bought options; this homemade version is truly special and tastes like pure sunshine.
You might think making jam is complicated, but I promise you, it’s surprisingly easy and quick. With just a few simple ingredients and a little stirring, you’ll transform fresh strawberries into a luscious spread. There’s no need for fancy equipment or extensive canning knowledge for this beginner-friendly recipe.
Imagine spreading this ruby-red goodness on your morning toast or swirling it into yogurt. It’s a rewarding project that fills your kitchen with the most wonderful aroma. So, roll up your sleeves and let’s make some magic together. You’ll be so proud of your homemade creation!
Cooking Time & Prep Time
- Prep Time: 25 minutes
- Cooking Time: 35 minutes
- Total Time: 60 minutes
Small tip: While the jam is cooking, take a moment to sterilize your jars. This will save you time and ensure your jam stays fresh longer!
Ingredients
This recipe makes approximately 4 small jars (about 8 ounces each) of delicious strawberry jam, yielding around 16 servings.
- 2 pounds fresh strawberries (about 8 cups hulled and chopped)
- 4 cups granulated sugar
- 1/4 cup fresh lemon juice (from about 1-2 lemons)
Step-by-Step Instructions
-
Step 1: Prepare the Strawberries
Start by washing your fresh strawberries thoroughly. Gently pat them dry. Then, hull each strawberry by removing the green leafy top and the white core. Cut the strawberries into small pieces. You can roughly chop them or mash them slightly with a fork, depending on how chunky you like your jam.
Small tip: For a smoother jam, mash the strawberries more thoroughly. For a chunkier jam, leave some larger pieces.
-
Step 2: Combine Ingredients in a Pot
Place the prepared strawberries into a large, heavy-bottomed pot or Dutch oven. Add the granulated sugar and fresh lemon juice to the pot. Stir everything together gently until the sugar is well distributed among the strawberries.
Small tip: A heavy-bottomed pot prevents the jam from scorching on the bottom.
-
Step 3: Begin Cooking the Jam
Place the pot over medium-high heat. Stir constantly as the mixture comes to a boil. The sugar will dissolve, and the strawberries will release their juices. Continue to stir, making sure nothing sticks to the bottom of the pot.
Small tip: The initial boiling phase helps to extract pectin from the fruit, which is essential for the jam to set.
-
Step 4: Simmer and Thicken
Once the jam reaches a rolling boil (a boil that cannot be stirred down), reduce the heat to medium-low. Allow the jam to simmer gently, stirring frequently to prevent sticking. Continue cooking for about 25-35 minutes, or until the jam thickens and reaches its setting point.
Small tip: Scrape down the sides of the pot occasionally to incorporate any jam that splatters.
-
Step 5: Check for Set
To check if your jam is ready, place a small plate in the freezer before you start cooking. After about 25 minutes of simmering, spoon a small amount of hot jam onto the chilled plate. Let it sit for 1 minute, then push the jam with your finger. If it wrinkles, it’s ready! If not, continue cooking for a few more minutes and re-test.
Small tip: You can also use a candy thermometer; jam is set when it reaches 220°F (104°C).
-
Step 6: Ladle into Jars
Carefully remove the pot from the heat. Skim off any foam that has formed on the surface of the jam using a spoon. Ladle the hot jam into your sterilized jars, leaving about 1/4 inch of headspace from the rim. Wipe the rims of the jars clean to ensure a good seal.
Small tip: Use a canning funnel to make ladling easier and keep your jar rims clean.
-
Step 7: Cool and Seal
Place the lids and bands on the filled jars. Tighten them finger-tight. Allow the jars to cool completely at room temperature. As they cool, you should hear a “pop” sound as the lids seal. Once cool, check the seals; the center of the lid should be concave and not flex when pressed.
Small tip: If a jar doesn’t seal, simply store it in the refrigerator and enjoy it first!
Tips & Variations
- Gluten-Free Option: Good news! This homemade strawberry jam is naturally gluten-free. All the ingredients used are free from gluten, making it a perfect treat for those with gluten sensitivities or celiac disease.
- Vegan/Vegetarian Option: This recipe is also naturally vegan and vegetarian. It contains no animal products whatsoever, making it suitable for plant-based diets.
- Fruit & Flavor Boost: To add more dimension, consider mixing in other fruits. Try adding a cup of rhubarb pieces for a strawberry-rhubarb jam, or a handful of raspberries for a mixed berry blend. You can also grate in a tiny bit of fresh ginger for a warm, spicy note.
- Spicy Version: For a delightful kick, add a pinch of dried chili flakes (about 1/4 teaspoon) or a very thin slice of a fresh jalapeño (seeds removed for less heat) during the cooking process. Remove the jalapeño before jarring.
- Other Flavor Tips: A splash of vanilla extract (added after cooking) can enhance the sweetness. For an herbal twist, throw in a sprig of fresh basil or mint for the last 5 minutes of cooking, then remove before jarring. You can also experiment with different types of sugar, like brown sugar for a richer, deeper flavor.
Nutritional Information
Approximate values per serving (based on 16 servings, 1 tablespoon each):
- Calories: 105 kcal
- Protein: 0.2 g
- Carbohydrates: 27 g
- Fat: 0.1 g
Please note: These values are approximate and may vary depending on the exact ingredients used and serving size.
Health Benefits
Homemade strawberry jam, especially when made with fresh, quality ingredients, offers some lovely health benefits.
Strawberries are a powerhouse of nutrition. They are incredibly rich in Vitamin C, an essential antioxidant that supports your immune system and skin health. Just a few strawberries can provide more than your daily recommended intake of this vital vitamin.
Beyond Vitamin C, strawberries also contain manganese, which is important for bone health and metabolism. They are packed with various antioxidants like anthocyanins, which give them their vibrant red color and help fight oxidative stress in the body.
While sugar is present, the natural fruit sugars and fiber from the strawberries contribute to overall digestive health. Making jam at home means you control the amount of sugar, and you avoid any artificial colors, flavors, or preservatives often found in commercial jams.
Lemon juice, a key ingredient, adds another boost of Vitamin C and helps with the jam’s natural pectin to set. It also contributes a lovely tartness that balances the sweetness, enhancing the overall flavor without needing excessive sugar.
Serving Suggestions
- Spread generously on warm toast, English muffins, or fresh scones for a classic breakfast or afternoon tea treat.
- Swirl into a bowl of plain yogurt, oatmeal, or cottage cheese for a burst of fruity flavor and natural sweetness.
- Use as a delicious filling for thumbprint cookies, crepes, pastries, or even as a glaze for a simple pound cake.
- Pair with soft cheeses on a charcuterie board for an elegant appetizer that everyone will love.
- Mix a spoonful into homemade vinaigrette for a sweet and tangy salad dressing, perfect for a summer salad.
Storage Tips
For best results, store your homemade strawberry jam in sealed jars in the refrigerator. It will keep well for up to 3-4 weeks. If you prefer to keep it longer, you can freeze the jam in freezer-safe containers for up to 6 months. To reheat or enjoy, simply bring it to room temperature for easier spreading. Freezing does not impact the taste or texture of the jam.
Conclusion
There you have it! Your very own batch of homemade strawberry jam, made with love and fresh ingredients. This recipe truly captures the essence of summer in every spoonful. It’s vibrant, sweet, and bursting with authentic strawberry flavor that you just can’t get from a store-bought jar.
Making jam from scratch is a wonderfully rewarding experience. It’s a simple process that yields incredible results, proving that the best things often come from the simplest efforts. Don’t be shy; give this recipe a try and enjoy the satisfaction of creating something truly delicious.
So go ahead, spread it on everything, share it with family and friends, or simply savor it by the spoonful. Enjoy the taste of homemade goodness!


