
Introduction
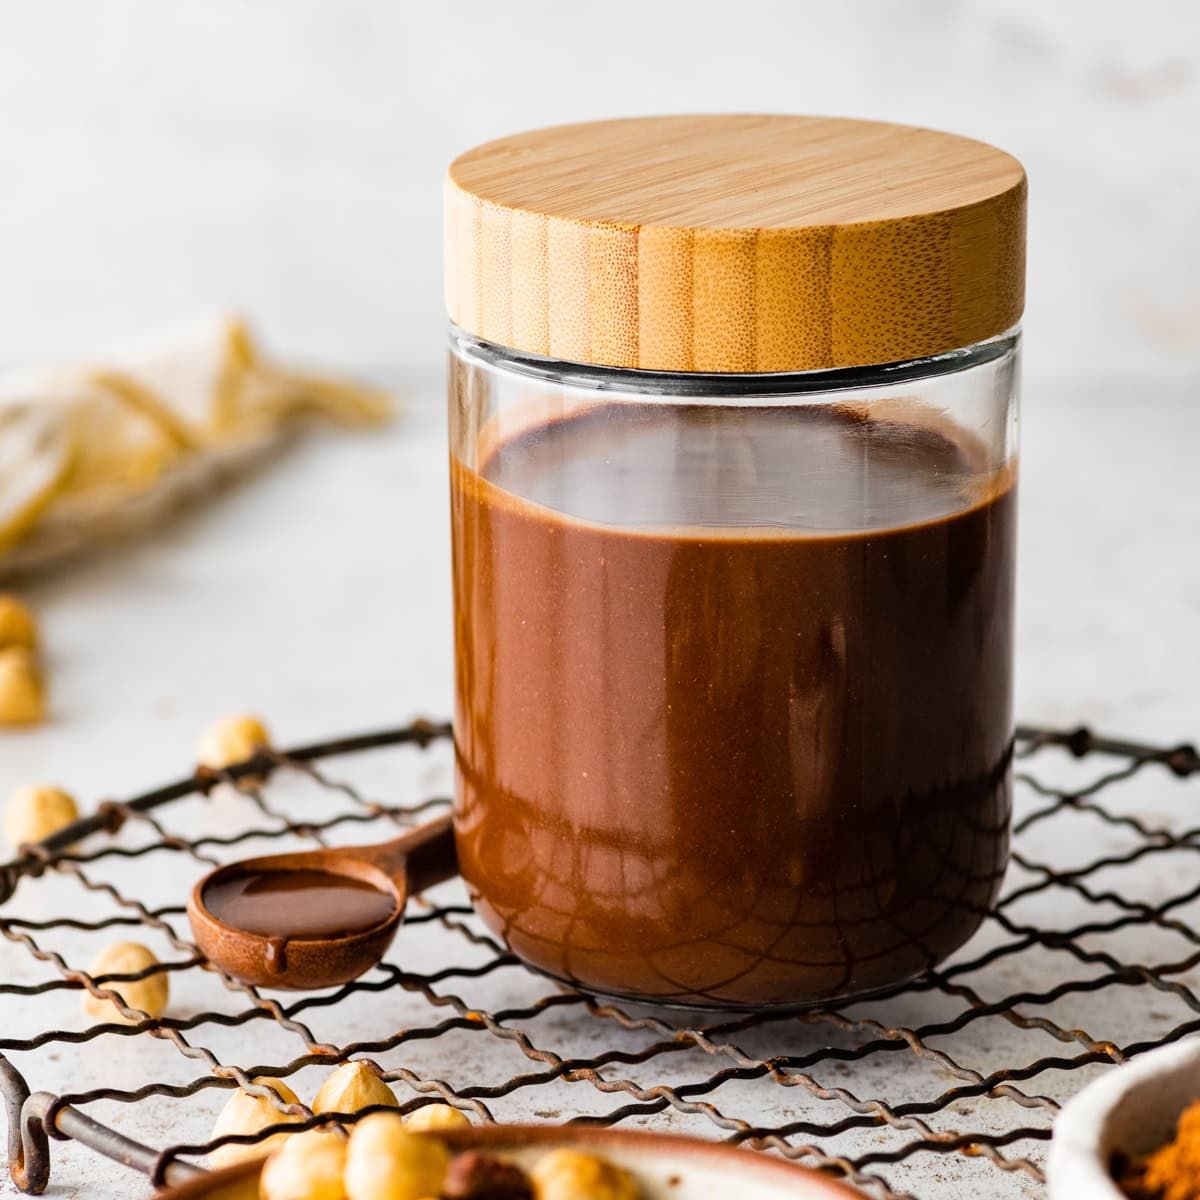
Get ready to transform your kitchen into a sweet-smelling haven! Today, we’re diving into the magic of homemade chocolate hazelnut spread. Forget the store-bought jars; this velvety, rich, and utterly delicious spread is a true game-changer. It’s packed with roasted hazelnut goodness and deep chocolate flavor, making every bite a delightful experience.
You might think making your own spread is complicated, but I promise it’s surprisingly simple and quick. With just a few basic ingredients and a good food processor, you’ll whip up this decadent treat in no time. It’s a fantastic recipe for beginners and seasoned cooks alike, offering maximum flavor with minimal fuss.
So, clear your counters and get ready to create something truly special. This homemade chocolate hazelnut spread is perfect for breakfast, dessert, or a secret spoonful straight from the jar. Trust me, once you try this recipe, you’ll never look back!
Cooking Time & Prep Time
- Prep Time: 15 minutes
- Cooking Time: 10 minutes (for roasting hazelnuts)
- Total Time: 25 minutes
Small tip: Roasting the hazelnuts is crucial for flavor and easier skin removal. Don’t skip this step!
Ingredients
This recipe makes approximately 1.5 cups (350-400g) of delicious chocolate hazelnut spread, which is about 12-16 servings.
- 1 ½ cups (200g) raw hazelnuts
- ½ cup (120ml) unsweetened cocoa powder
- ½ cup (100g) granulated sugar (or less, to taste)
- ½ cup (120ml) neutral oil (like refined coconut oil, avocado oil, or sunflower oil)
- ¼ cup (60ml) milk (dairy or non-dairy, like almond or oat milk)
- 1 teaspoon vanilla extract
- ¼ teaspoon salt
Step-by-Step Instructions
-
Step 1: Roast the Hazelnuts
Preheat your oven to 350°F (175°C). Spread the raw hazelnuts in a single layer on a baking sheet. Roast them for 8-10 minutes, or until they are fragrant and their skins look slightly cracked. This step deepens their flavor beautifully.
Small tip: Watch them closely to prevent burning. Hazelnuts can go from perfectly roasted to burnt very quickly!
-
Step 2: Remove Hazelnut Skins
Once roasted, immediately transfer the hot hazelnuts to a clean kitchen towel. Fold the towel over them and rub vigorously for a few minutes. Most of the skins should come off easily. Don’t worry if a few stubborn bits remain; it won’t affect the taste.
Small tip: The heat from the nuts helps loosen the skins. Do this while they are still warm.
-
Step 3: Process Hazelnuts into Butter
Place the skinned hazelnuts into a high-powered food processor. Process them for 5-10 minutes, scraping down the sides occasionally. At first, they will turn into a coarse meal, then a sticky ball, and finally a smooth, creamy hazelnut butter. This takes patience, but it’s worth it!
Small tip: A good food processor is key here. If yours is struggling, take short breaks to prevent overheating.
-
Step 4: Add Remaining Ingredients
Once you have smooth hazelnut butter, add the cocoa powder, sugar, neutral oil, milk, vanilla extract, and salt to the food processor. Process again until all ingredients are thoroughly combined and the mixture is silky smooth. This usually takes another 2-3 minutes.
Small tip: Taste the spread at this stage and adjust the sugar or salt to your preference.
-
Step 5: Achieve Desired Consistency
If your spread is too thick, add a tiny bit more milk (1 teaspoon at a time) and process until it reaches your desired consistency. If you prefer a thicker spread, you can skip adding extra milk. The spread will also thicken slightly as it cools.
Small tip: For an extra rich flavor, you can melt 2 tablespoons of dark chocolate and add it in this step.
-
Step 6: Transfer and Chill
Carefully transfer your homemade chocolate hazelnut spread into clean, airtight jars. Let it cool completely to room temperature, then store it in the refrigerator. It will firm up a bit more in the fridge, but will remain wonderfully spreadable.
Small tip: Sterilize your jars by washing them in hot, soapy water and then letting them air dry completely, or by boiling them for 10 minutes.
Tips & Variations
- Gluten-Free Option: This recipe is naturally gluten-free! Just ensure all your individual ingredients (like cocoa powder) are certified gluten-free if you have severe sensitivities.
- Vegan Option: This recipe is already vegan if you use a plant-based milk (like almond, oat, or soy milk) and a plant-based neutral oil. It’s a delicious dairy-free treat!
- Protein Boost: For added protein, you can blend in 1-2 tablespoons of a neutral-flavored protein powder (like unflavored pea protein) during Step 4. You might need a tiny bit more milk to maintain consistency.
- Spicy Kick: Add ¼ teaspoon of cayenne pepper or a pinch of chili powder along with the cocoa powder for a delightful spicy chocolate hazelnut spread. It adds a surprising warmth!
- Nut-Free Version: If you have nut allergies, you can try this recipe with roasted sunflower seeds or pumpkin seeds instead of hazelnuts. The flavor profile will be different but still delicious.
- Maple Sweetened: Replace the granulated sugar with ¼ to ½ cup of maple syrup or agave nectar for a refined sugar-free option. Adjust to your desired sweetness.
Nutritional Information
Approximate values per serving (based on 16 servings, ~2 tablespoons each):
- Calories: 160 kcal
- Protein: 3g
- Carbohydrates: 10g
- Fat: 13g
Please note: These values are approximate and may vary depending on the specific brands and quantities of ingredients used.
Health Benefits
Homemade chocolate hazelnut spread isn’t just delicious; it offers some wonderful health benefits too! You control the ingredients, which means less sugar and no artificial additives found in many store-bought versions.
Hazelnuts are tiny powerhouses of nutrition. They are rich in healthy monounsaturated fats, which are good for heart health. These nuts also provide a significant amount of Vitamin E, an antioxidant that helps protect your body’s cells from damage.
Beyond Vitamin E, hazelnuts are packed with dietary fiber, which aids digestion and helps you feel full longer. They also contain essential minerals like manganese, copper, and magnesium, all vital for various bodily functions, including bone health and energy production.
The cocoa powder in our spread isn’t just for flavor. It’s a fantastic source of antioxidants, particularly flavanols, which are known to improve blood flow and lower blood pressure. Dark cocoa also provides iron and other minerals, contributing to overall well-being.
By making this spread at home, you’re choosing wholesome ingredients. You get all the goodness of nuts and cocoa without excessive sugars or unhealthy oils. It’s a treat you can feel good about enjoying!
Serving Suggestions
- Spread generously on toast, pancakes, waffles, or crepes for a delightful breakfast or brunch.
- Use it as a dip for fresh fruit like strawberries, banana slices, or apple wedges.
- Swirl into oatmeal or yogurt for an extra layer of flavor and richness.
- Dollop onto ice cream or use as a filling for cakes, cupcakes, or tarts.
- Enjoy it straight from the spoon when a chocolate craving hits – we won’t tell!
Storage Tips: Store your homemade chocolate hazelnut spread in a clean, airtight jar in the refrigerator for up to 2-3 weeks. The oil might separate slightly over time, but a quick stir will bring it back together. It’s not recommended to freeze this spread, as the texture can become grainy upon thawing. If it hardens too much in the fridge, simply let it sit at room temperature for 15-30 minutes or microwave a small amount for 10-15 seconds until spreadable.
Conclusion
There you have it – your very own batch of homemade chocolate hazelnut spread! This recipe proves that some of life’s greatest pleasures are also the simplest to create. The rich, nutty flavor combined with decadent chocolate is truly irresistible, and knowing exactly what goes into it makes it even more enjoyable.
I wholeheartedly encourage you to give this recipe a try. You’ll be amazed at how easy it is to achieve such a luxurious result in your own kitchen. The aroma alone is enough to brighten your day, and the taste is pure bliss.
Whip up a batch and share the love with your family and friends. It makes a wonderful homemade gift, or simply a fantastic treat to have on hand. Enjoy every single spoonful!


