
Introduction
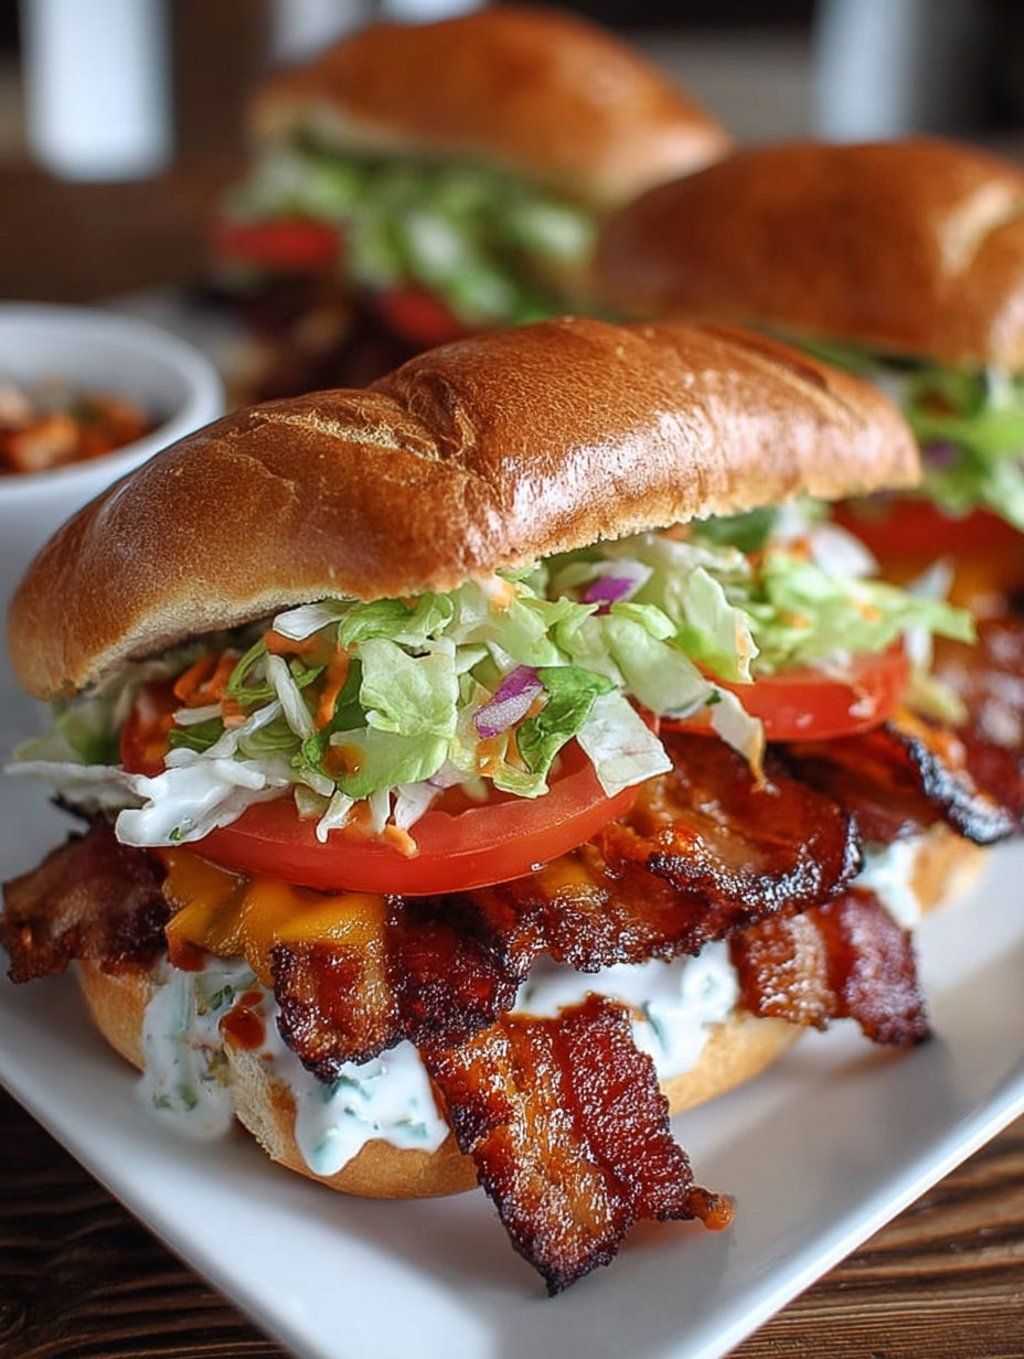
Imagine the perfect blend of crispy, salty bacon, gooey, melted cheese, and golden, buttery bread. That, my friends, is the magic of a Bacon Grilled Cheese! It’s not just a sandwich; it’s a warm hug for your soul, a classic comfort food elevated to new heights. Every bite offers a delightful contrast of textures and flavors that will make your taste buds sing.
The best part? This ultimate comfort food is incredibly simple and quick to make. You don’t need fancy ingredients or complicated techniques. With just a few pantry staples and a hot pan, you can create a masterpiece in minutes. It’s the perfect meal for a busy weeknight, a lazy weekend lunch, or whenever you need a little extra cheer in your day.
So, get ready to transform simple ingredients into something extraordinary. This recipe will guide you through every step, ensuring you achieve the perfect golden crust and a luscious, cheesy interior. Prepare to discover your new favorite way to enjoy a grilled cheese. Let’s get cooking!
Cooking Time & Prep Time
- Prep Time: 10 minutes
- Cooking Time: 12 minutes
- Total Time: 22 minutes
Small tip: To save time, you can cook the bacon ahead and store it in the fridge. Just warm it gently before assembling your sandwiches.
Ingredients
This recipe makes 2 delicious servings.
- 4 slices of your favorite bread (sourdough, brioche, or white bread work wonderfully)
- 2 tablespoons unsalted butter, softened
- 4 slices sharp cheddar cheese
- 4 slices Monterey Jack cheese (or another good melting cheese like Havarti or Gruyère)
- 4-6 strips cooked bacon, crispy
Step-by-Step Instructions
-
Step 1: Cook the Bacon
If your bacon isn’t already cooked, now is the time to make it perfectly crispy. Place bacon strips in a cold pan and cook over medium heat until golden brown and crisp. Drain on a paper towel-lined plate to remove excess grease.
Small tip: Don’t overcrowd the pan when cooking bacon; cook in batches if necessary for even crispness.
-
Step 2: Prepare the Bread
Lay out your bread slices on a clean surface. Generously butter one side of each slice. Make sure to spread the butter all the way to the edges for that perfect golden crust.
Small tip: Using softened butter makes it much easier to spread without tearing the bread.
-
Step 3: Assemble the Sandwich
Place two slices of bread, butter-side down, in your cold skillet. Layer each with one slice of cheddar, then two or three strips of crispy bacon, followed by one slice of Monterey Jack. Top with the remaining two slices of bread, butter-side up.
Small tip: Don’t overload your sandwich with too much cheese or bacon; a balanced ratio ensures even melting and cooking.
-
Step 4: Grill the Sandwich
Place the skillet over medium-low heat. This lower temperature allows the cheese to melt slowly and the bread to toast to a beautiful golden brown without burning. Cook for about 4-6 minutes on the first side.
Small tip: You’ll know it’s time to flip when the bottom is golden brown and the cheese just starts to look soft around the edges.
-
Step 5: Flip and Finish
Carefully flip each sandwich with a spatula. Continue to cook for another 4-6 minutes on the second side, until that side is also golden brown and the cheese is fully melted and gooey. Gently press down on the sandwich with your spatula to help the cheese melt evenly.
Small tip: If the bread is browning too quickly, lower the heat slightly. Patience is key for a perfect grilled cheese!
-
Step 6: Serve Immediately
Carefully remove the grilled cheese from the pan. Slice each sandwich in half, either diagonally or straight down, and serve hot. The warm, melty cheese and crispy bacon are best enjoyed right away!
Small tip: Let the sandwich rest for about a minute after removing it from the pan; this helps the cheese set slightly and prevents it from oozing out too much when you cut it.
Tips & Variations
- Gluten-Free Option: Easily swap out regular bread for your favorite gluten-free bread. Ensure it’s a sturdy variety that can hold up to grilling.
- Vegan or Vegetarian Option: For a vegetarian delight, simply omit the bacon. For a vegan version, use plant-based butter, your favorite vegan cheese slices, and plant-based bacon alternatives.
- Add More Veggies or Protein: Elevate your sandwich with thin slices of ripe tomato, a handful of fresh spinach, caramelized onions, or even a few slices of avocado. For extra protein, add some leftover grilled chicken.
- Spicy Version: Kick up the heat by adding a few thin slices of jalapeño, using pepper jack cheese, or drizzling a little hot sauce inside before grilling.
- Flavorful Cheese Blends: Experiment with different cheese combinations. Try Gruyère with Swiss, or Muenster with Provolone. A touch of cream cheese can also add extra creaminess!
- Garlic Butter Twist: Mix a pinch of garlic powder or finely minced garlic into your softened butter before spreading it on the bread for an extra layer of savory flavor.
Nutritional Information
Approximate values per serving (based on 2 servings):
- Calories: 550-650
- Protein: 28-35g
- Carbohydrates: 35-45g
- Fat: 35-45g
Please note: These values are approximate and may vary depending on the specific brands and amounts of ingredients used.
Health Benefits
While a Bacon Grilled Cheese is a delightful indulgence, its ingredients do offer some nutritional benefits!
Cheese is an excellent source of calcium, which is vital for strong bones and teeth. It also provides a good amount of protein, essential for muscle repair and growth, along with B vitamins like B12, important for nerve function and red blood cell formation.
Bacon, in moderation, contributes protein, which helps keep you feeling full and satisfied. It also contains B vitamins, including B1 (thiamine) and B3 (niacin), and minerals like selenium and phosphorus.
Bread, especially if you choose a whole-grain variety, provides complex carbohydrates, which are your body’s primary source of energy. Whole grains also offer dietary fiber, beneficial for digestive health.
Beyond the nutrients, comfort food like a warm grilled cheese can provide psychological benefits, boosting mood and offering a sense of well-being. Enjoying a satisfying meal can be a part of a balanced lifestyle!
Serving Suggestions
- Classic Pairing: Serve your Bacon Grilled Cheese with a warm bowl of creamy tomato soup for the ultimate comfort food duo. Dunking is highly encouraged!
- Fresh Side: A crisp green salad with a light vinaigrette or some tangy dill pickles make a great counterpoint to the richness of the sandwich.
- Crunchy Companion: A handful of your favorite potato chips or sweet potato fries adds a satisfying crunch and completes the meal.
- Main Dish: This hearty sandwich is definitely substantial enough to be a main course for lunch or dinner.
Storage Tips
While best enjoyed fresh, you can store leftover Bacon Grilled Cheese in an airtight container in the refrigerator for up to 1-2 days. It’s not ideal for freezing, as the bread can become soggy upon thawing. To reheat, warm gently in a dry skillet over medium-low heat until the cheese is melted and the bread is crisp again. You can also use a toaster oven for best results.
Conclusion
There you have it – the ultimate guide to crafting a Bacon Grilled Cheese that will impress everyone, including yourself! This isn’t just a simple sandwich; it’s a testament to how a few basic ingredients can come together to create something truly magical. The crispy bacon, the gooey cheese, the perfectly toasted bread – it’s a symphony of textures and flavors that hits all the right notes.
So, don’t wait another moment. Gather your ingredients, fire up your skillet, and treat yourself to this incredible comfort food experience. It’s quick, it’s easy, and it delivers on taste every single time. You deserve this moment of deliciousness!
Whether it’s for a cozy night in, a quick lunch, or a special treat to share, this Bacon Grilled Cheese is sure to become a cherished recipe in your kitchen. Share the joy with family and friends – because good food tastes even better when shared. Happy cooking!


